The Canned Tuna Bowl is a culinary revelation that proves pantry staples can achieve 5-star restaurant status with the right technique. Forget the sad tuna sandwiches of your childhood; this dish is a vibrant, deconstructed sushi experience that balances creamy, spicy, and crunchy textures in every bite.
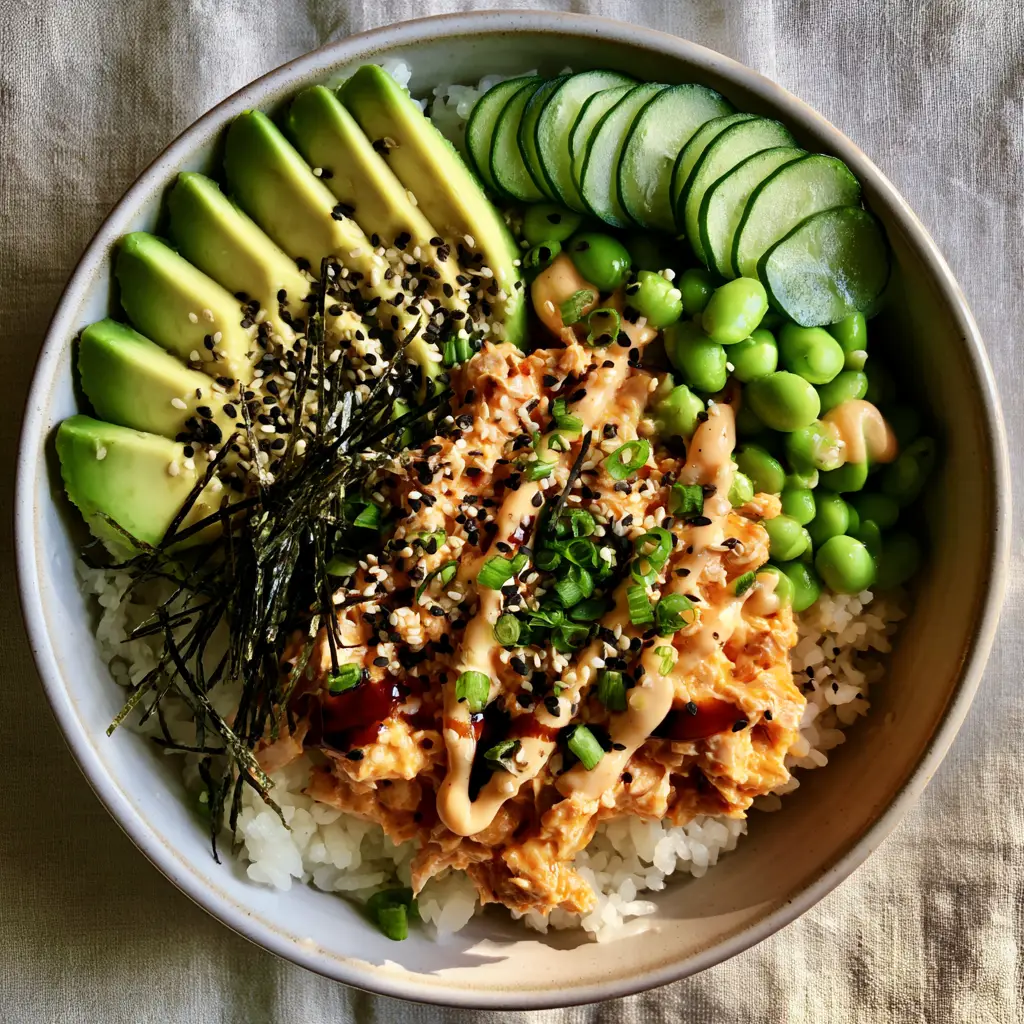
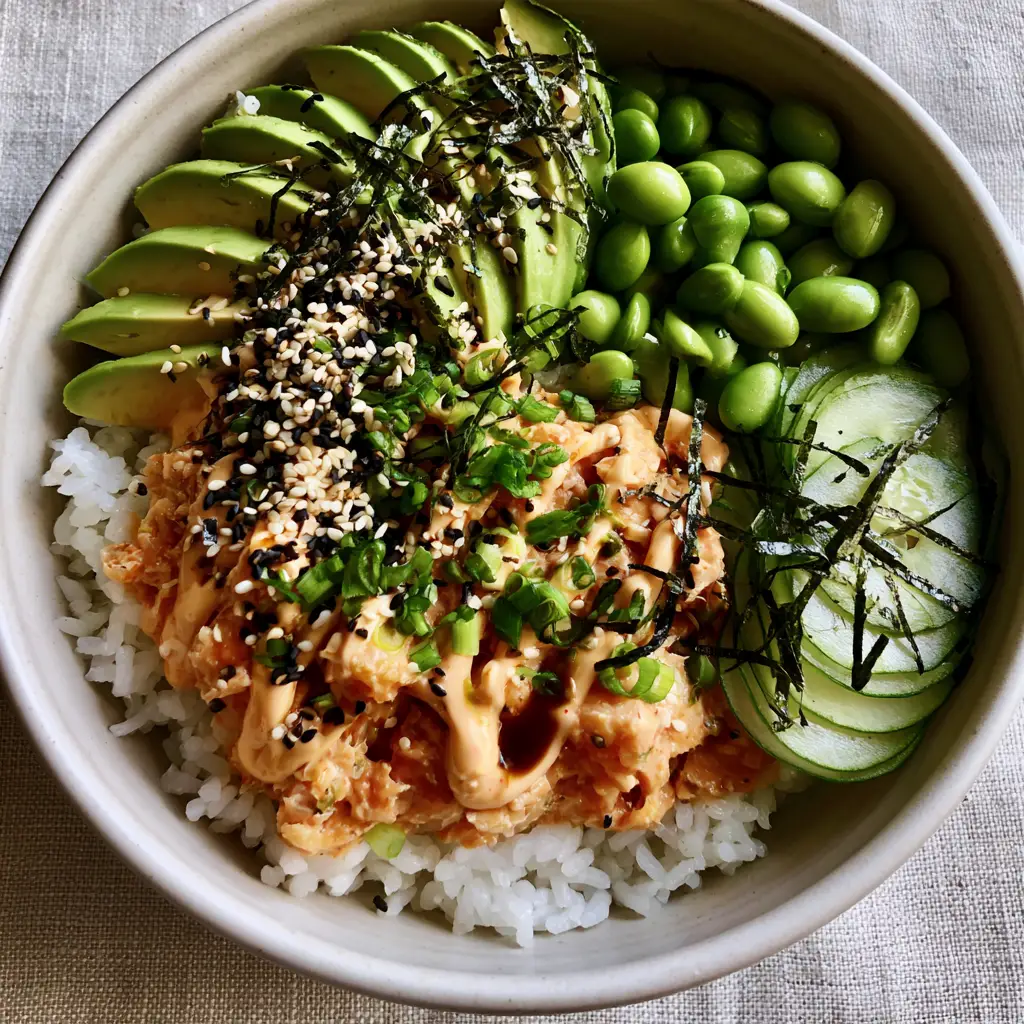
Imagine a base of fluffy, steaming white pearl rice topped with chunky, flaky tuna that has been thoroughly folded into a thick, glossy, pale orange sriracha-mayo mixture. This bowl isn’t just about flavor; it’s a visual masterpiece designed for the modern home cook who values both nutrition and aesthetic appeal.
By following this guide, you will master the art of the “gourmet bowl” using simple ingredients found in your cupboard. From the precise zigzag drizzle of spicy mayo to the perfectly fanned avocado slices, every element of this Canned Tuna Bowl is optimized for maximum sensory satisfaction and Instagram-ready presentation.
Why This Gourmet Spicy Tuna Rice Bowl Works
- Textural Contrast: You get the warmth of the steamed rice against the chilled crunch of cucumber half-moons and vibrant green edamame.
- Flavor Balance: The richness of the thick sriracha-mayo is cut by the acidity of the seasoned rice and the earthy julienned nori seaweed strips.
- Visual Precision: This recipe replicates the gourmet handheld smartphone photo look, featuring a heavy dusting of black and white sesame seeds and finely minced scallions.
- Nutritional Density: Packed with high-quality protein from the tuna and healthy fats from the ripe avocado, it’s a complete, satiating meal.
The Foundation: Essential Ingredients for the Perfect Bowl
Canned Tuna (Chunky): Use high-quality solid white albacore or skipjack tuna packed in water for the cleanest flavor profile. You need 1 can (5 oz / 142g) to ensure the bowl is protein-forward and satisfying.
White Pearl Rice: Short-grain sushi rice is the gold standard here because it provides the “steaming” and “fluffy” base described in our visual blueprint. You will need 1 cup (200g) of dry rice to yield roughly 3 cups (approx. 450g) of cooked rice.
Spicy Mayo Components: A combination of 3 tbsp (45ml) of Japanese Kewpie mayo and 1 tbsp (15ml) of Sriracha creates that thick, glossy, pale orange sauce. The Kewpie mayo is essential for its rich, egg-yolk-heavy flavor that sets this apart from basic deli tuna.
Fresh Produce: One small cucumber (approx. 150g) and one ripe avocado provide the “paper-thin crisp half-moons” and “perfectly fanned slices” required for the aesthetic. Ensure your avocado is just soft to the touch to maintain its shape when sliced.
The “Invisible” Essentials: Don’t forget 1 tsp (5ml) of toasted sesame oil and a splash of rice vinegar. These foundational ingredients season the rice and add the “dark toasted” aromatic notes mentioned in our culinary profile.
Garnish Flourishes: You will need 1 sheet of nori seaweed, julienned into thin strips, and 2 stalks of green onions. These provide the “finely minced bright green” and “paper-thin” textural elements that elevate the Canned Tuna Bowl from a snack to a meal.
Professional Tools for Gourmet Results
To achieve the “precise, thick zigzag drizzle” and the “paper-thin crisp cucumber,” a few specific tools are helpful. A sharp chef’s knife or a mandoline slicer is vital for the cucumbers to ensure they are translucent and uniform.
A small squeeze bottle is the secret weapon for that professional sauce application. If you don’t have one, a plastic sandwich bag with a tiny corner snipped off works perfectly to create the thick zigzag pattern seen in gourmet food photography.
Finally, a fine-mesh strainer is required for rinsing the rice. Rinsing removes excess surface starch, which is the only way to achieve the “steaming white pearl rice” texture without it becoming a gummy mass.
Step-By-Step: Crafting Your Canned Tuna Bowl
1. Preparing the Fluffy Pearl Rice Base
Begin by rinsing 1 cup (200g) of short-grain white rice in a fine-mesh strainer under cold water. Continue rinsing until the water runs completely clear, which usually takes about 2-3 minutes of gentle agitation.
Cook the rice using your preferred method (rice cooker or stovetop) with 1 1/4 cups (300ml) of water. Once cooked, let it stand covered for 10 minutes to finish steaming, then gently fold in 1 tsp (5ml) of rice vinegar and a pinch of salt using a wooden paddle.
2. Mixing the Spicy Tuna Component
Drain 1 can (5 oz / 142g) of chunky canned tuna thoroughly; excess moisture will make the sauce runny rather than “thick and glossy.” Place the tuna in a small bowl and flake it into large chunks with a fork.
Add 2 tbsp (30ml) of the spicy mayo mixture and fold it in gently. You want the tuna to be “thoroughly folded” so it is fully coated but still maintains its “chunky, flaky” structural integrity.
3. Precision Vegetable Prep
Cut your cucumber into paper-thin half-moons; if using a mandoline, set it to 1/16th of an inch (1.5mm). For the avocado, cut it in half, remove the pit, and slice vertically within the skin before scooping out with a spoon to create those “perfectly fanned slices.”
Julienne the nori sheet by folding it and cutting with sharp kitchen shears into hair-thin strips. Finely mince the green onions, using both the white and the “bright green” parts for a variety of sharp flavors.
4. The Art of Assembly
Place a generous scoop of the steaming rice into a minimalist matte ceramic bowl. Arrange the spicy tuna mixture on one side, then nestle the fanned avocado, chilled edamame, and cucumber half-moons in distinct sections around the perimeter.
Using your squeeze bottle, apply the “precise, thick zigzag drizzle” of spicy mayo across the entire bowl. Finish with a few drops of dark toasted sesame oil and a “heavy dusting” of black and white sesame seeds.
Expert Tips for Success
- The Temperature Contrast: For the most “gourmet” experience, ensure the rice is hot while the edamame and cucumbers are “chilled.” This temperature play is a hallmark of professional bowl construction.
- Mayo Consistency: If your spicy mayo is too thick to drizzle, whisk in 1/2 tsp (2.5ml) of water at a time until it reaches a “glossy” pouring consistency.
- Tuna Quality: If you enjoy this flavor profile, you might also like exploring seared tuna steaks for a more formal dinner option.
- Rice Seasoning: Never skip the rice vinegar; it provides the bright acidity that balances the heavy fats in the mayo and avocado.
What to Serve With This Bowl
This Canned Tuna Bowl is a complete meal on its own, but it pairs beautifully with other seafood-inspired dishes. If you are looking for a warmer alternative, try this salmon rice bowl recipe which uses a similar flavor profile with cooked fillets.
For those looking for a broader spread, this bowl fits perfectly within a menu of easy seafood recipes that focus on fresh ingredients and minimal cook times. If you are serving this for a gathering, consider adding a side of lebanese tabbouleh for an extra hit of fresh herbs and lemon.
To drink, nothing beats a classic lemonade to cleanse the palate between bites of the spicy sriracha sauce. For a tropical twist, you could even try a strawberry rum cocktail if serving this for a weekend brunch.
Frequently Asked Questions
Yes, though the texture will be nuttier and less ‘fluffy.’ Ensure you cook the brown rice thoroughly so it remains tender when served with the chilled toppings.
Slice the avocado just before serving. If prepping in advance, lightly brush the slices with lime juice or rice vinegar to slow oxidation.
While regular mayo works, Kewpie mayo uses only egg yolks and MSG, which provides the signature rich, savory ‘umami’ flavor found in professional sushi bowls.
Steam-blanched snap peas, thinly sliced radishes, or even pickled ginger make excellent crunchy, vibrant substitutes for edamame.
Solid white albacore or skipjack tuna packed in water is best. It provides large, flaky chunks that hold up well when folded into the spicy mayo without becoming mushy.
The Ultimate Canned Tuna Bowl Recipe
Ready to transform your pantry staples into a gourmet masterpiece? This recipe follows our visual blueprint to the letter, ensuring your final dish looks exactly like a professional food photograph. This Canned Tuna Bowl is the perfect solution for a quick lunch or a high-protein dinner that doesn’t sacrifice style or flavor.
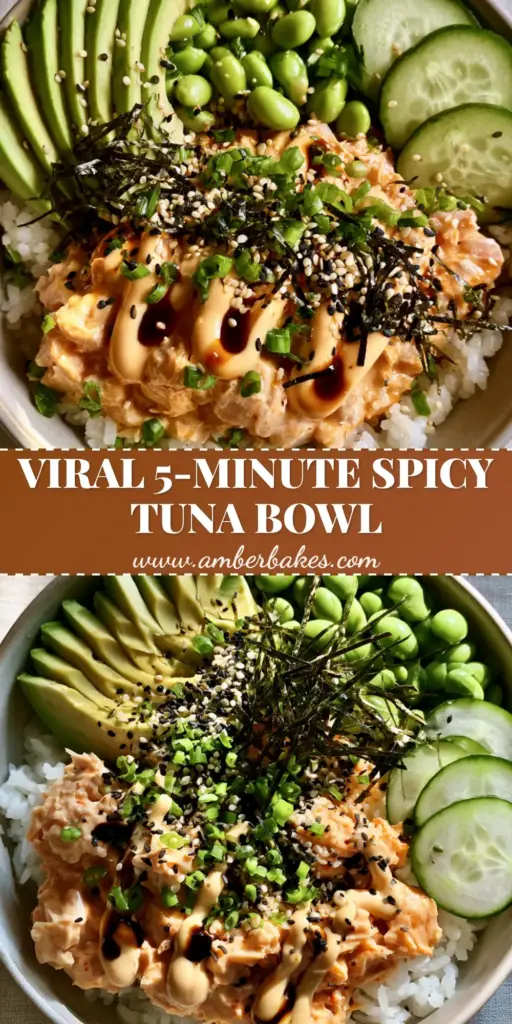
Canned Tuna Bowl: The Ultimate 15-Minute Gourmet Spicy Rice Bowl
Ingredients
Equipment
Method
- Rinse the rice under cold water until clear. Combine rice and 1 1/4 cups water in a pot; bring to a boil, then reduce to a simmer and cover for 15-20 minutes until fluffy.
- Fluff the rice with a wooden paddle and fold in the rice vinegar and a pinch of salt. Set aside to stay warm.
- In a small bowl, whisk together the mayo and sriracha. Fold in the drained chunky tuna until thoroughly coated and pale orange.
- Slice the cucumber into paper-thin half-moons. Pit and slice the avocado into even fans. Thinly julienne the nori strips.
- Scoop rice into a bowl. Arrange tuna, avocado, edamame, and cucumber in separate sections on top.
- Apply a thick zigzag drizzle of the remaining spicy mayo. Garnish with sesame seeds, green onions, and nori strips. Finish with drops of sesame oil.
Notes
Ensure the tuna is drained extremely well to prevent a soggy rice bowl.
Closing & Call to Action
Mastering the Canned Tuna Bowl is about more than just mixing ingredients; it’s about the care taken in the presentation and the balance of textures. Whether you’re a busy professional or an enthusiastic home cook, this dish will quickly become a staple in your weekly rotation.
Did you make this recipe? We’d love to see your “gourmet handheld smartphone photo!” Leave a comment below and let us know how your bowl turned out. Don’t forget to follow us and pin this recipe to your favorite boards on Pinterest for easy access later.