Filipino pork tocino is the crown jewel of the traditional Philippine breakfast. This cured meat features a signature mahogany glaze, tender muscle fibers, and those addictive charred, blackened edges that every home cook dreams of achieving. If you have ever enjoyed a “Tocilog” platter at a Filipino diner, you know that the combination of sweet, savory, and garlicky flavors is unmatched.
Making filipino pork tocino at home is surprisingly simple, yet it requires a bit of patience for the curing process. By using thin-sliced pork shoulder and a balance of sugar, salt, and aromatics, you can recreate this restaurant-quality dish in your own kitchen. The result is a glistening, sticky reduction that pairs perfectly with a runny egg and garlic fried rice.
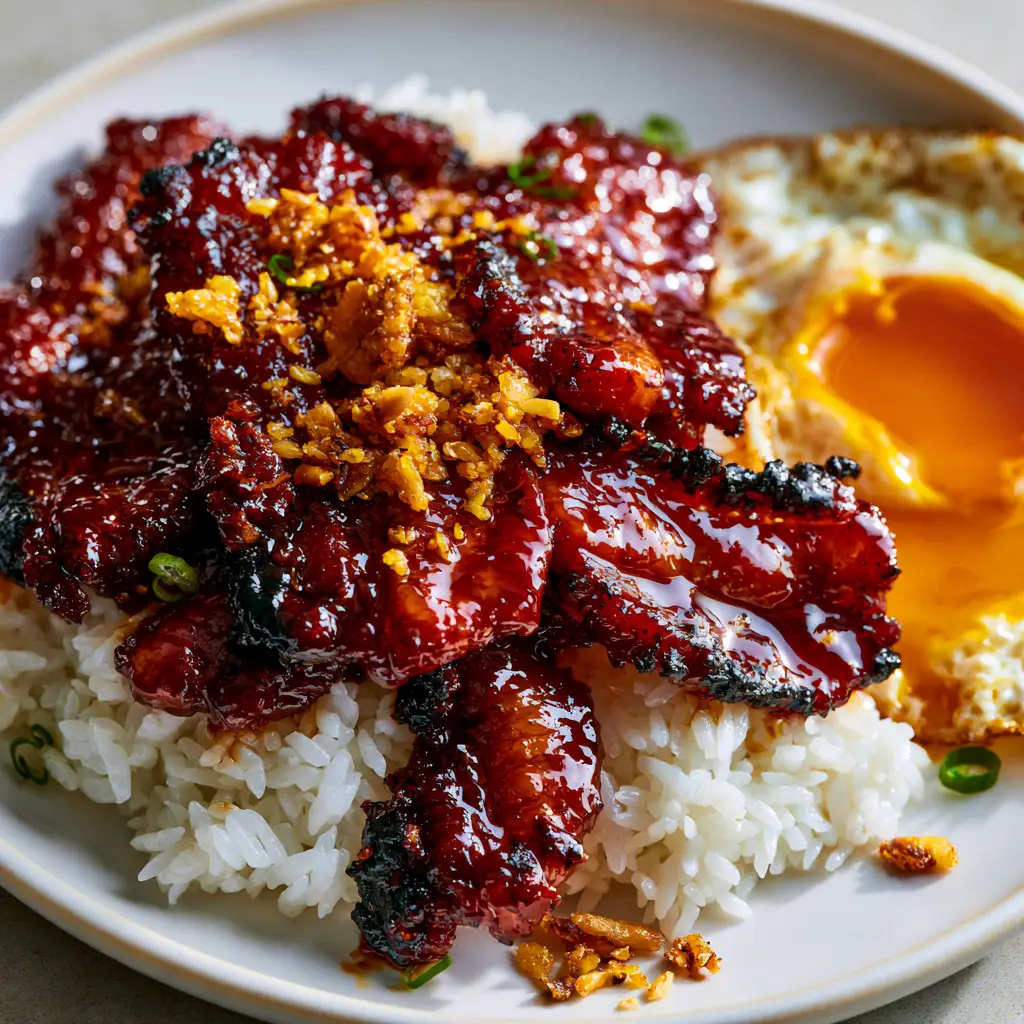
Why You Will Crave This Authentic Filipino Pork Tocino
- Perfect Texture Contrast: The pork shoulder remains incredibly tender while the exterior develops a sticky mahogany sugar glaze.
- Visual Masterpiece: The vibrant red-orange hue of the meat paired with crispy fried garlic bits and bright scallions is a feast for the eyes.
- Flavor Harmony: A scientific balance of high-quality salt, sugar, and acidic notes from calamansi or pineapple juice.
- The Iconic Char: Our cooking method ensures those distinct charred, caramelized edges that provide a smoky depth to every bite.
If you love exploring international breakfast staples, you might also enjoy our guide to authentic Filipino pancit or perhaps some classic French comfort food for your next brunch gathering.
The Essential Ingredients for Mahogany Glazed Tocino
Creating the perfect filipino pork tocino requires specific ingredients to achieve the right chemical reaction during the curing and frying stages. Each component serves a culinary purpose to ensure the meat is both flavorful and tender.
The Meat and Cure Base
Pork Shoulder (Butt): Use 2 lbs (907g) of pork shoulder, thinly sliced across the grain. The marbled fat in the shoulder is essential for keeping the meat moist during the high-heat glazing process.
Granulated Sugar: 1 cup (200g) of sugar. This is the primary curing agent that creates the sticky mahogany sugar glaze. It also aids in the caramelization process.
Kosher Salt: 1.5 tablespoons (22g). Salt draws out moisture and allows the sweet flavors to penetrate deep into the muscle fibers of the filipino pork tocino.
Aromatics and Color
Minced Garlic: 3 tablespoons (45g) of fresh garlic. Garlic is the backbone of Filipino savory dishes and complements the sweetness of the cure.
Annatto Powder (Achuete): 1 teaspoon (5g). This provides the natural, deep mahogany color without the need for artificial red dyes. You can also use a drop of red food coloring if annatto is unavailable.
Pineapple Juice: 1/4 cup (60ml). The enzymes in pineapple juice help break down tough proteins, ensuring your filipino pork tocino is melt-in-your-mouth tender.
While preparing this hearty meal, you might want to balance your morning with a refreshing drink; check out our smoothie tips for a light accompaniment.
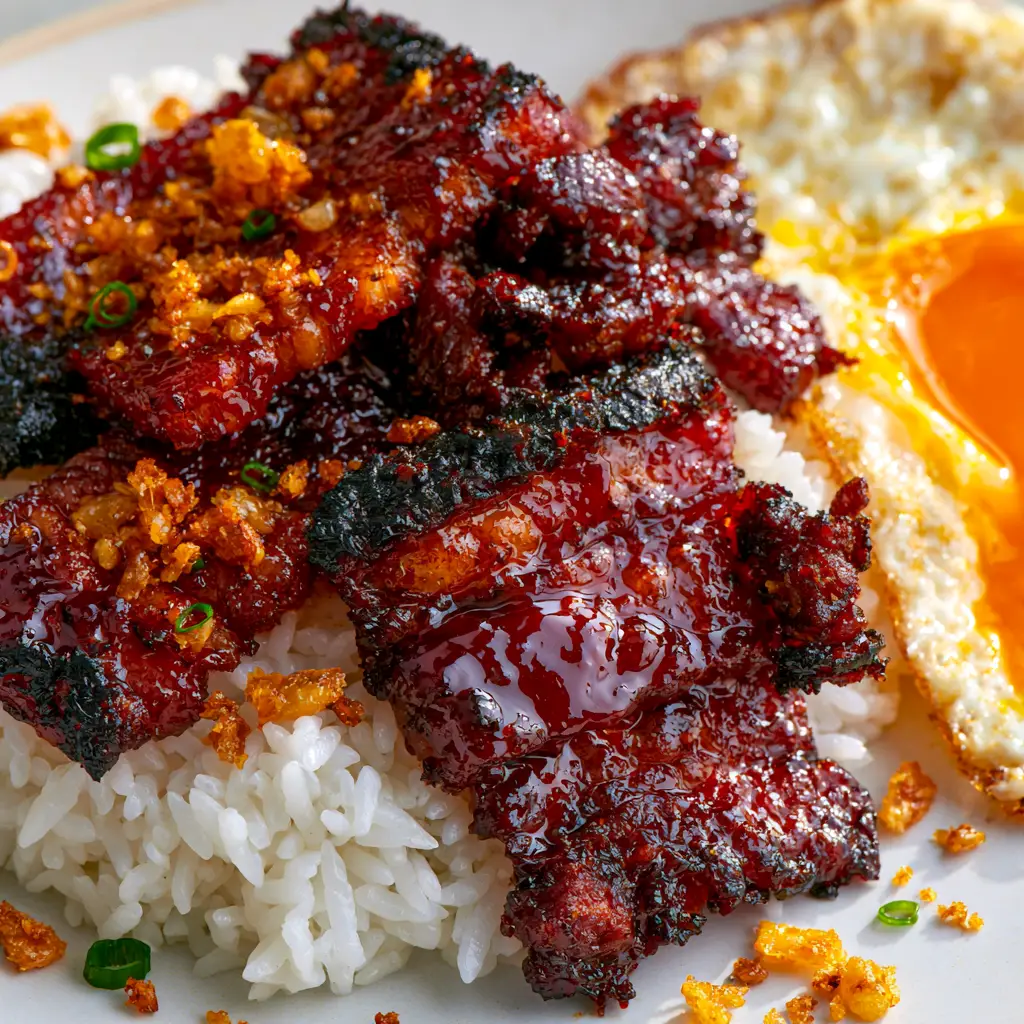
How to Make Filipino Pork Tocino Step-by-Step
Step 1: The Curing Process
In a large glass bowl, combine the sliced pork shoulder, sugar, salt, garlic, annatto powder, and pineapple juice. Massage the cure into the meat using gloved hands for at least 5 minutes to ensure every fiber is coated.
Cover the bowl tightly with plastic wrap or transfer the mixture to a heavy-duty gallon freezer bag. Refrigerate for at least 24 hours, though 48 hours is ideal for the most intense mahogany glaze and flavor development.
Step 2: The Water-Reduction Method
Do not simply throw the raw meat into a hot pan with oil. Instead, place the cured filipino pork tocino in a wide skillet and add 1/2 cup (120ml) of water. Bring to a simmer over medium heat.
This step ensures the pork is fully cooked and tender before the sugar begins to burn. Allow the water to evaporate completely. You will notice the liquid turning into a thick, bubbling syrup.
Step 3: Achieving the Perfect Char
Once the water has evaporated, add 2 tablespoons (30ml) of neutral cooking oil to the pan. Turn the heat to medium-high. The sticky mahogany sugar glaze will begin to darken and cling to the meat.
Fry the pork, flipping frequently, until the edges are charred and blackened. Listen for the sizzle and look for the meat to become glistening and translucent in the fatty areas.
Step 4: Preparing the Silog Accompaniments
While the tocino rests, fry your garlic rice (sinangag) in the same pan to pick up the leftover bits of glaze. Top with crispy fried garlic bits. Fry a sunny-side-up egg until the yolk is perfectly runny and bright orange with crispy, lace-like edges.
Expert Tips for Success
- Slice Thinly: Ensure your pork slices are no thicker than 1/4 inch (6mm). This maximizes surface area for the filipino pork tocino glaze to adhere to.
- Don’t Skip the Water: The water-simmering stage is the secret to tender tocino. Frying raw cured pork directly in oil often results in a burnt exterior and raw interior.
- Calamansi Balance: Always serve with small red calamansi halves. The hit of citrus acidity cuts through the richness of the pork and the sweetness of the glaze.
- Cast Iron is Best: Using a cast-iron skillet helps maintain even heat, which is crucial for achieving those charred blackened edges without burning the entire batch.
If you find yourself with leftover ingredients or want to explore more savory meat dishes, take a look at our Moroccan meatballs recipe for a different flavor profile.
Storage, Reheating, and Freezing
Refrigeration: Cooked filipino pork tocino stays fresh in an airtight container for up to 4 days. Reheat in a skillet over low heat with a splash of water to loosen the glaze.
Freezing: You can freeze the pork in its raw, cured state for up to 3 months. This is a great way to meal prep. Simply thaw overnight in the refrigerator before following the cooking instructions.
What to Serve With This Pork Tocino
The traditional way to enjoy this dish is as “Tocilog.” This portmanteau stands for Tocino (the pork), Sinangag (garlic fried rice), and Itlog (fried egg). The plate should be garnished with sliced fresh scallions and served with a side of spiced vinegar for dipping.
For a complete feast, you could add a side of chickpea and beet salad for a fresh, earthy contrast to the heavy breakfast meats.
Frequently Asked Questions
Yes, you can use the same marinade for chicken thighs to make Chicken Tocino, though the cooking time will be slightly shorter to avoid drying out the poultry.
While commercial versions use curing salts for preservation and color, home recipes can rely on high concentrations of regular salt and sugar for a short-term cure (24-48 hours) in the refrigerator.
Use annatto powder (achuete) or annatto seeds infused in oil. This provides a natural, deep mahogany hue that is characteristic of authentic Filipino tocino.
Pork tocino is made of thinly sliced pork (usually shoulder or belly) cured in a mixture of sugar, salt, garlic, and an acidic component like pineapple juice or calamansi, traditionally colored red with annatto.
Tocino can become tough if the meat is sliced too thick or fried too quickly. Using the water-reduction method ensures the meat tenderizes while simmering before the sugar caramelizes into a glaze.
Authentic Filipino Pork Tocino Recipe Card
Filipino Pork Tocino Recipe: The Ultimate Sweet and Salty Cured Pork
Ingredients
Equipment
Method
- Combine pork, sugar, salt, garlic, annatto, and pineapple juice. Massage for 5 minutes. Refrigerate for 24-48 hours.
- Place cured pork in a skillet with 1/2 cup water. Simmer until water evaporates and pork is tender.
- Add oil to the pan and fry on medium-high. Flip frequently until a sticky mahogany glaze forms and edges are charred.
Notes
Use annatto powder for a natural red color without artificial dyes.
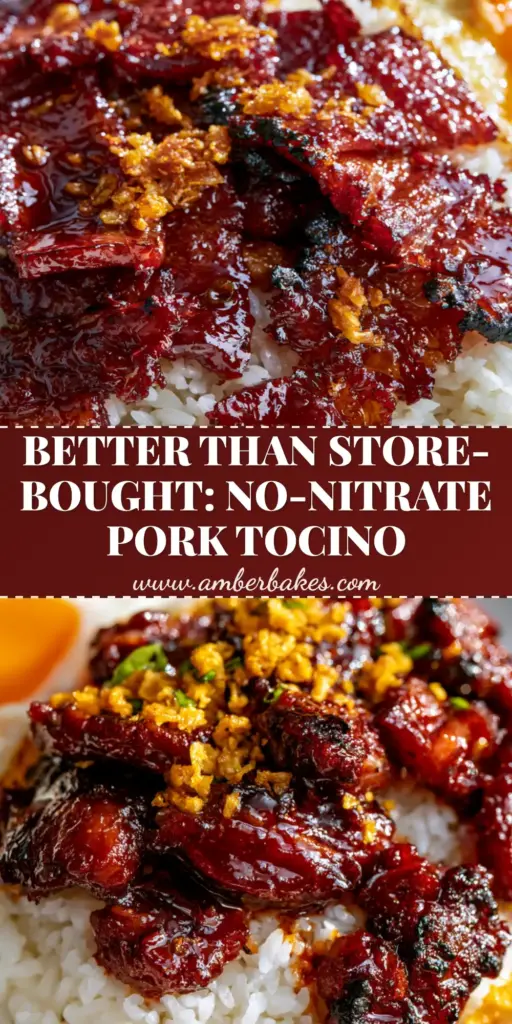
Join the Community!
Did you achieve those perfect charred blackened edges? We want to see your filipino pork tocino creations! Please save this recipe to your Pinterest boards and follow amber_bakes for more authentic global recipes.
If you made this dish, please leave a 5-star rating in the recipe card above and share a photo of your breakfast plate in the comments below. Your feedback helps our community grow and helps other home cooks master the art of the mahogany glaze!