There is nothing quite as nostalgic or satisfying as a bowl of ultra-creamy Tuna pasta salad. This version elevates the classic potluck staple into a gourmet experience, featuring a glossy ivory-colored dressing and chunky flakes of pale pink tuna that nestle perfectly within every pasta spiral.
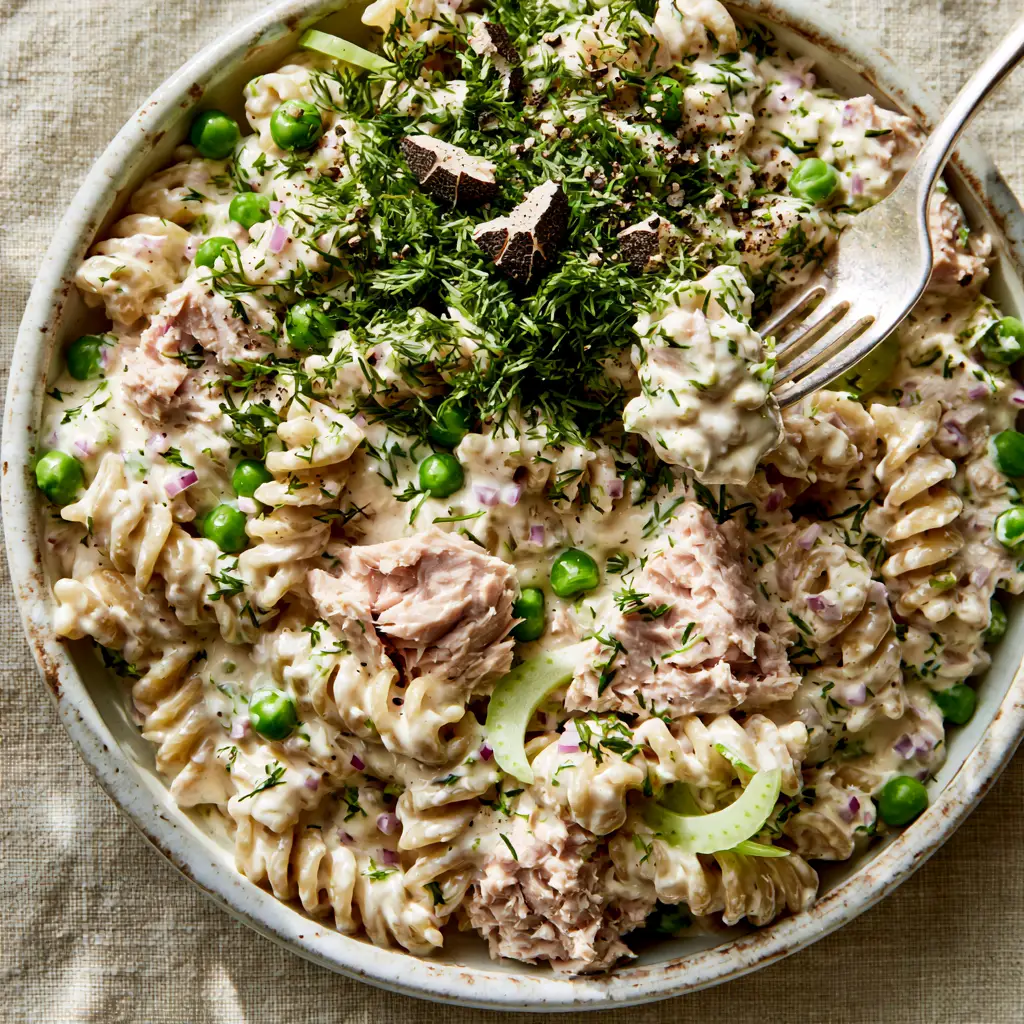
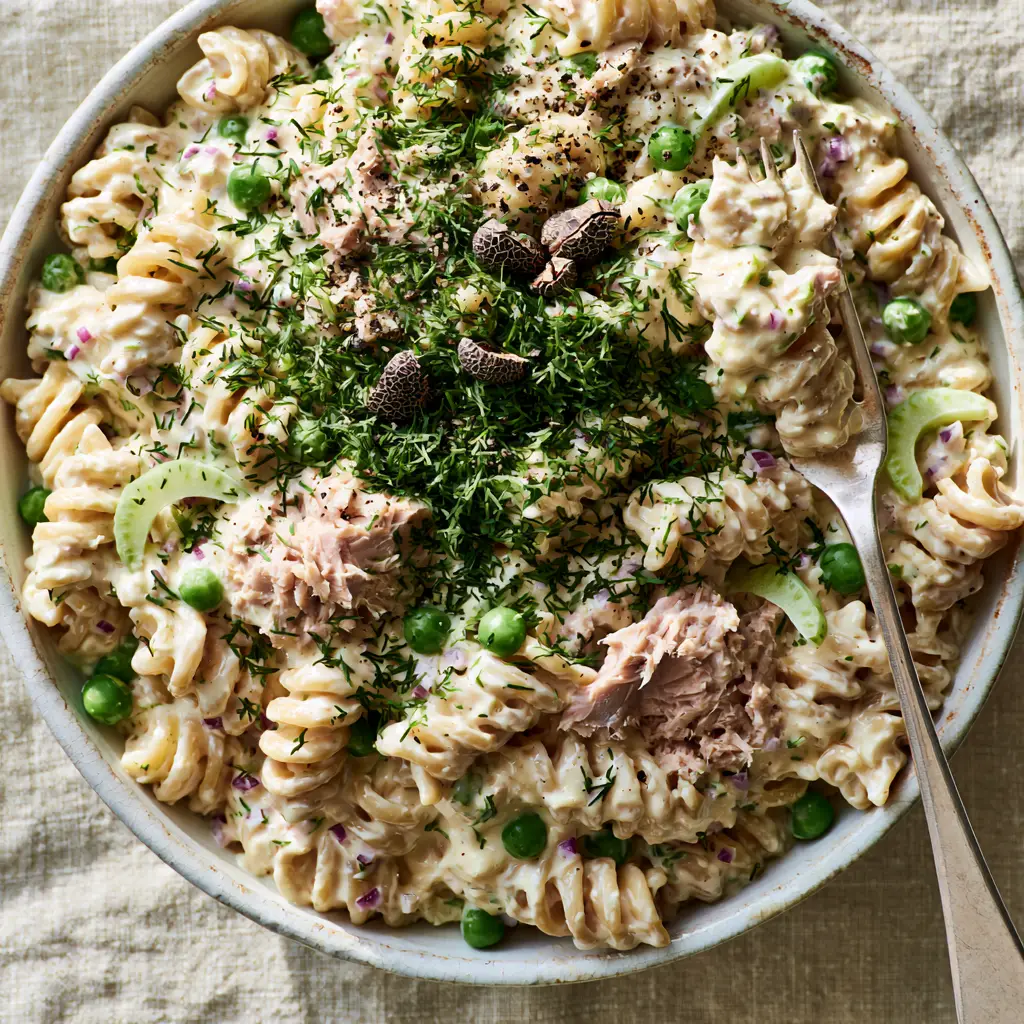
Imagine a rustic white ceramic bowl overflowing with al dente rotini, each curve heavily coated in a velvety mixture of Greek yogurt and mayo. The bright green spheres of garden peas pop against the soft textures, while finely minced red onion provides tiny purple flecks of sharp flavor.
The final touch is a heavy garnish of fresh chopped dill and large, jagged grains of cracked black pepper. Whether you are prepping for a busy week of lunches or hosting a summer gathering, this dish is designed to hold its thick, non-runny consistency even after hours in the fridge.
Why This Is the Ultimate Creamy Tuna pasta salad Recipe
- Textural Contrast: We pair soft, flaked light tuna with the crunch of sliced celery and the “pop” of vibrant garden peas for a multi-sensory bite.
- Glossy, Velvety Dressing: By blending mayonnaise with tangy Greek yogurt, we achieve a thick, ivory-colored coating that looks moist and rich without being oily.
- Aromatic Depth: Freshly zested lemon and a heavy hand of dill transform the canned tuna into something bright, fresh, and sophisticated.
- Structural Integrity: Using rotini pasta ensures the sauce is trapped in the spirals, meaning every single forkful is as creamy as the last.
The Ultimate Pantry Staples for This Ultra-Creamy Base
1 lb (454g) Rotini Pasta: The corkscrew shape is essential for catching the heavy dressing. Cook this until just al dente so it maintains a firm bite against the creamy sauce.
10 oz (284g) Flaked Light Tuna: Look for high-quality canned tuna in water. Draining it thoroughly is the secret to ensuring your Tuna pasta salad stays thick and doesn’t become runny.
1/2 cup (120ml) Real Mayonnaise: This provides the classic rich foundation and the glossy finish seen in our recipe photos. It creates that “moist and rich” look that defines a great salad.
1/2 cup (120ml) Plain Greek Yogurt: This is our secret for a velvety ivory-colored dressing. It adds a necessary tang that cuts through the richness of the tuna and mayo.
1 cup (150g) Sweet Garden Peas: Use frozen peas that have been quickly thawed. They should be bright green spheres that “pop” when you bite into them.
1/4 cup (40g) Finely Diced Red Onion: These tiny purple flecks offer a sharp contrast to the creamy dressing. Soaking them in cold water for five minutes can mellow their bite if preferred.
2 ribs (100g) Sliced Celery: Cut these into thin crescents. They provide the essential “crisp” texture that balances the soft pasta and fish.
3 tbsp (10g) Fresh Dill Sprigs: Freshness is non-negotiable here. Chopped finely, the dill provides a floral aroma that pairs perfectly with seafood.
1 tbsp (6g) Lemon Zest: The oils from the lemon skin brighten the entire dish. It provides a citrus high note that wakes up the heavier creamy flavors.
1 tsp (2g) Cracked Black Pepper: Use a coarse grind for those large, visible grains. It adds a gentle heat and a beautiful visual garnish to the rustic white bowl.
1/2 tsp (3g) Sea Salt: Essential for the pasta water and for seasoning the dressing. Salt is the “invisible” ingredient that makes the tuna flavor bloom.
Essential Kitchen Tools for Professional Results
To achieve the macro-level beauty of this dish, you will need a large stockpot for boiling the pasta. A fine-mesh strainer is also vital to drain the tuna until it is bone-dry, preventing a watery mess.
Use a large mixing bowl to toss the ingredients without smashing the delicate tuna flakes. A microplane is the best tool for achieving that fine, aromatic lemon zest that distributes evenly through the ivory dressing.
A Step-by-Step Guide to Achieving the Perfect Al Dente Spiral
Step 1: Boiling the Foundation
Bring a large pot of salted water to a rolling boil. Add your 1 lb (454g) of rotini and cook for approximately 8-10 minutes. You are looking for a firm, al dente texture; the pasta should have a slight resistance when bitten.
Once cooked, drain the pasta and immediately rinse it under cold running water. This stops the cooking process and removes excess surface starch, ensuring your silky tuna pasta salad doesn’t become a sticky clump.
Step 2: Creating the Velvety Ivory Dressing
In a small bowl, whisk together the 1/2 cup (120ml) mayo and 1/2 cup (120ml) Greek yogurt until completely smooth. Stir in the lemon zest and a pinch of salt.
The dressing should be thick and glossy. If it seems too thick, you can add a teaspoon of lemon juice, but keep it substantial so it coats the pasta without pooling at the bottom of the bowl.
Step 3: Preparing the Flaked Tuna and Garden Vegetables
Open your cans of tuna and drain them aggressively. Use a fork to break the tuna into large, chunky flakes rather than a fine mush. This provides the “pale pink flakes” visible in the final presentation.
Dice your red onion into uniform tiny flecks and slice the celery into thin, crisp crescents. Thaw your peas by placing them in a colander and running warm water over them for 30 seconds, then pat them dry.
Step 4: The Final Fold and Garnish
In your large rustic bowl, combine the cooled pasta, the chunky tuna, peas, onions, and celery. Pour the velvety dressing over the top. Using a large spatula, gently fold the ingredients together until every rotini spiral is heavily coated.
Top the salad with a heavy garnish of fresh chopped dill. Finish with a generous sprinkle of large-grain cracked black pepper. Use a silver fork to lift a bite—it should show a thick, non-runny consistency that clings to the fork.
Expert Tips for a Non-Runny Tuna pasta salad
- Dry the Ingredients: Water is the enemy of creaminess. Ensure the pasta, tuna, and peas are all completely dry before adding the dressing.
- Chill the Pasta: Never mix the mayo-based dressing with warm pasta. The heat will cause the fats to separate, leading to an oily, thin sauce rather than a velvety ivory one.
- The “Resting” Rule: Let the salad sit in the fridge for 30 minutes before serving. This allows the pasta to absorb just enough dressing to lock in the flavor without losing its glossy appearance.
- Seasoning in Layers: Salt your pasta water heavily. Since the salad is served cold, the flavors will be more muted, so seasoning the pasta from the inside out is crucial.
Shelf Life and Storage Best Practices
This Tuna pasta salad stores beautifully, making it an excellent candidate for meal prep. Place leftovers in an airtight container and refrigerate for up to 3 to 4 days.
If the salad seems a bit dry the next day, simply stir in an extra tablespoon of Greek yogurt to refresh the glossy finish. We do not recommend freezing this dish, as the mayo and yogurt dressing will break and lose its velvety texture upon thawing.
What to Serve With Your Creamy Pasta Creation
While this salad is a complete meal on its own, it pairs wonderfully with other summer favorites. If you want a full seafood spread, consider serving it alongside classic tuna pasta variations or even some buttery lobster rolls for a high-low seafood experience.
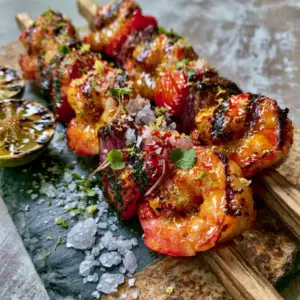
For a lighter side, a crisp green salad or some grilled shrimp kabobs can add a smoky charred flavor that complements the cool, creamy dill dressing. If you’re looking for more ways to use canned fish, don’t miss our guide to versatile canned tuna pasta pantry meals.
Frequently Asked Questions About Tuna Salad
Yes, but be sure to drain it thoroughly. Tuna in oil provides a richer flavor, but it can make the dressing feel heavier. If using oil-packed tuna, you may want to slightly increase the Greek yogurt to maintain the tang.
Pasta absorbs liquid as it sits. To prevent dryness, ensure the pasta is fully cooled before mixing, and consider stirring in an extra dollop of Greek yogurt or mayo just before serving to restore the glossy finish.
Because this recipe contains mayonnaise and yogurt, it should not sit at room temperature for more than 2 hours. Keep the bowl nestled in a larger bowl of ice to keep it chilled and safe.
Frozen peas are superior for this recipe. Once thawed, they maintain a vibrant green color and a firm ‘pop’ texture that canned peas, which are often mushy and dull, cannot provide.
Absolutely. Rinsing with cold water stops the cooking process to keep it al dente and removes excess starch, which prevents the pasta spirals from sticking together and clumping.
The Master Recipe: Creamy Tuna pasta salad
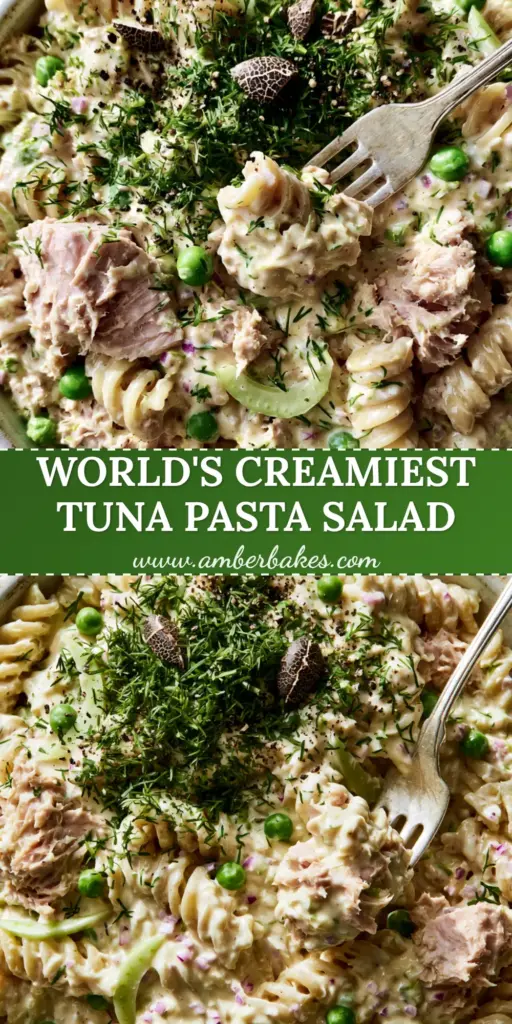
Tuna pasta salad with Creamy Dill Dressing and Garden Peas
Ingredients
Equipment
Method
- Boil rotini in salted water until al dente. Drain and rinse with cold water to stop cooking.
- Whisk mayo, Greek yogurt, lemon zest, and salt until a glossy, ivory-colored consistency is reached.
- In a rustic bowl, gently fold together the cooled pasta, drained chunky tuna, peas, onion, and celery with the dressing.
- Top with a heavy layer of fresh dill and cracked black pepper. Serve with a thick, non-runny consistency.
Notes
Chill for 30 minutes before serving to allow flavors to meld.
Bringing the Deli Counter Home
Mastering the Tuna pasta salad is all about the balance of creamy, crunchy, and bright. By focusing on the visual cues—the ivory dressing, the vibrant green peas, and the chunky tuna—you can create a dish that looks exactly like a professional food photo and tastes even better.
If you loved this recipe, please leave a comment below and share your photos with us! Don’t forget to follow us on Pinterest for more culinary inspiration and daily recipe updates.