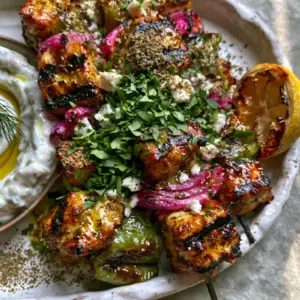
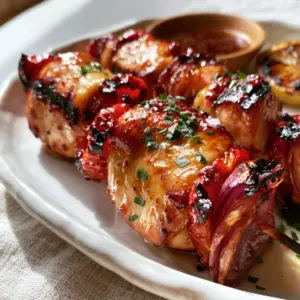
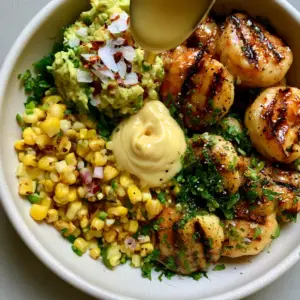
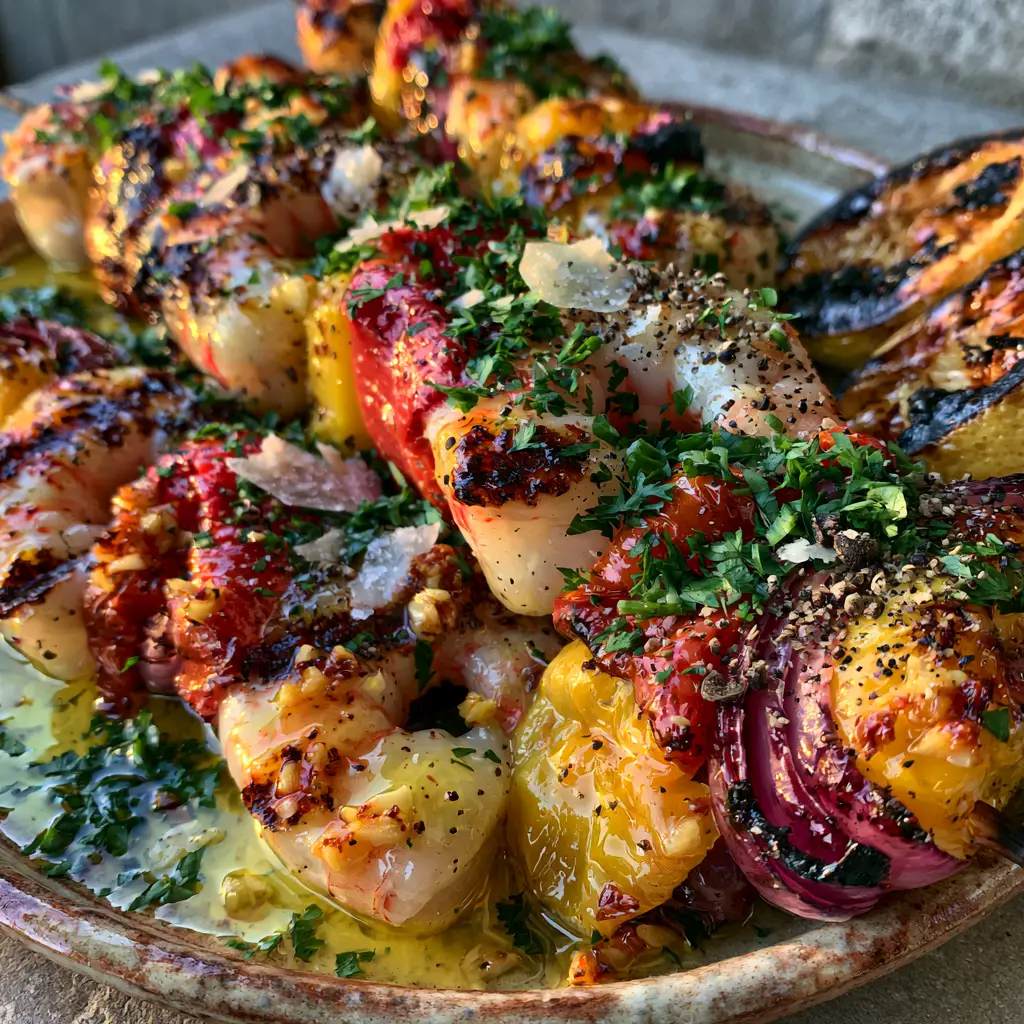
There is nothing quite like the aroma of succulent seafood hitting a searing hot grate. These Grilled shrimp kabobs represent the pinnacle of summer outdoor cooking, combining the snap of jumbo shrimp with the smoky sweetness of blistered peppers. When the golden hour light hits that translucent garlic butter glaze, it is impossible to resist reaching for a skewer.
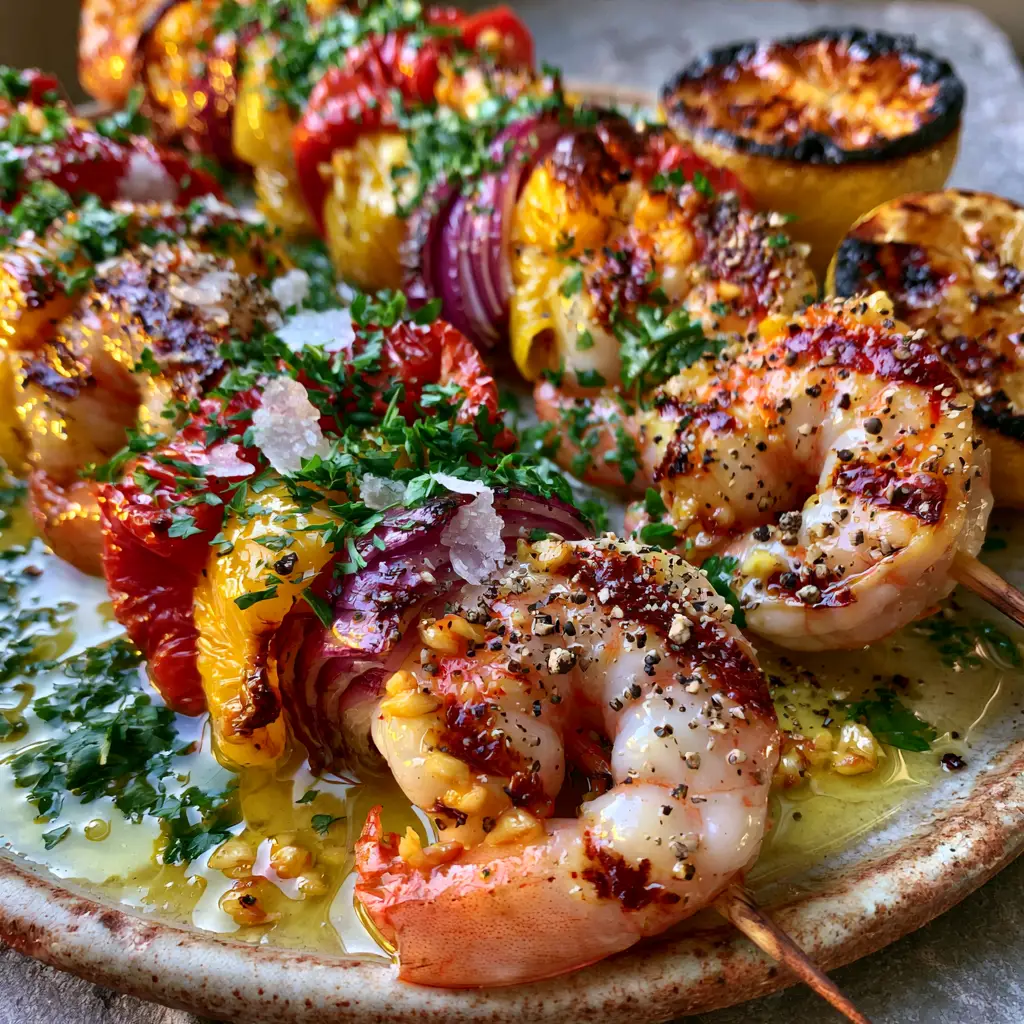
The secret to these skewers lies in the contrast of textures. You have the firm, opaque bite of the shrimp, the tender crunch of charred red onion petals, and the soft, concentrated sweetness of blistered yellow bell peppers. Every bite is accented by large flakes of sea salt and the sharp, aromatic bite of coarse cracked black pepper.
This recipe isn’t just about cooking; it’s about building layers of flavor. From the sautéed micro-bits of garlic in the butter to the caramelized edges of grilled lemon wheels, we are maximizing the sensory experience. Whether you are hosting a backyard BBQ or a quick weeknight dinner, these kabobs deliver professional results with minimal effort.
Why You’ll Crave These Glistening Garlic Butter Skewers
- Textural Perfection: The jumbo shrimp are cooked until they form a perfect “C-shape,” ensuring they remain juicy and tender rather than rubbery.
- Complex Flavor Profile: A balance of rich butter, pungent sautéed garlic, bright citrus, and the smoky essence of the grill.
- Visually Stunning: Vibrant red and yellow peppers paired with emerald green parsley make this dish a centerpiece for any table.
- Speed and Efficiency: Shrimp cook incredibly fast, making this a high-reward meal that takes less than 15 minutes over the flame.
The Essential Ingredients for Your Grilled shrimp kabobs
To achieve the visual and culinary results seen in our professional kitchen, you need high-quality ingredients. Each component has been selected to withstand the high heat of the grill while contributing to the final glossy finish.
Jumbo Tail-On Shrimp: Use 16/20 or 21/25 count shrimp to ensure they don’t overcook before the vegetables char. The tail-on presentation provides a handle for eating and locks in moisture during the sear.
Red and Yellow Bell Peppers: These peppers provide the “thick, blistered chunks” described in our visual blueprint. Red offers a deep sweetness, while yellow provides a bright, sunny aesthetic and a slightly milder flavor.
Red Onion Petals: By cutting the onion into thick “petals” rather than rings, they stay securely on the skewer. They provide a sharp, caramelized bite that cuts through the richness of the butter glaze.
Unsalted Butter (1/2 cup / 115g): This is the base of our glistening glaze. We use unsalted to control the seasoning, allowing the flaky sea salt garnish to shine at the end.
Fresh Garlic (4-5 cloves): Minced into micro-bits and sautéed, this garlic becomes the “glistening bits” that cling to the shrimp. Sautéing them first prevents the bitter taste of burnt raw garlic on the grill.
Fresh Parsley: Finely chopped emerald green parsley adds a final pop of color and a fresh, earthy finish to the rich seafood. Do not use dried parsley; the fresh herb is essential for the visual prompt’s “heavily garnished” look.
Lemons: These are sliced into wheels or halves and grilled until blackened. The heat concentrates the sugars, making the juice sweeter and more complex when squeezed over the finished kabobs.
Foundational Seasonings: You will need 2 tbsp (30ml) of high-smoke point oil (like avocado or grapeseed) for the vegetable prep. Additionally, keep your flaky sea salt and coarse cracked black pepper ready for the final touch.
Professional Tools for Grilling Success
Achieving “perfect C-shaped” shrimp requires the right equipment. If you are looking for more seafood inspiration after mastering these, consider trying our margarita-infused shrimp for a citrusy twist.
Metal or Bamboo Skewers: If using bamboo, soak them for at least 30 minutes in water. This prevents them from incinerating on the grill before the shrimp are finished.
Cast Iron Grill or Outdoor BBQ: A high-quality heat source is required to get those dark brown grill char marks. Cast iron is excellent for heat retention if you are cooking indoors on a stovetop.
Silicone Basting Brush: This is essential for applying the glistening garlic butter sauce. A silicone brush is heat-resistant and easy to clean after dealing with oily marinades.
Mastering the Flame: A Step-by-Step Culinary Guide
Follow these instructions closely to ensure your Grilled shrimp kabobs look exactly like the “handheld smartphone photo” aesthetic. We are aiming for a wet, glistening texture and vibrant, charred colors.
Step 1: Prep and Marinate the Vegetables
Cut your red and yellow bell peppers into 1.5-inch (4cm) chunks. Peel the red onion and cut it into thick wedges, separating the layers into individual “petals.” Toss the vegetables in a bowl with 1 tbsp (15ml) of oil and a pinch of salt to ensure they blister properly on the heat.
Step 2: The Sautéed Garlic Butter Glaze
In a small saucepan, melt 1/2 cup (115g) of butter over medium-low heat. Add your finely minced garlic micro-bits. Sauté for 2-3 minutes until the garlic is fragrant and translucent, but not browned. Set aside half of this mixture for the final “drenching” and use the other half for basting during the cook.
Step 3: Threading for Visual Impact
Thread the ingredients onto the skewers, starting with a bell pepper chunk to act as a sturdy base. Alternate between a jumbo shrimp (piercing through the tail and the head end to create that “C-shape”), a red onion petal, and another pepper chunk. Leave a small gap between items to allow the heat to circulate and create those dark brown grill marks.
Step 4: Achieving the Perfect Sear
Preheat your grill to medium-high heat (approx. 400°F / 200°C). Place the kabobs on the grates along with the lemon wheels. You should hear a distinct sizzle immediately. Grill for 2-3 minutes per side. Visual Cue: Look for the shrimp meat to turn from translucent gray to a white/light pink opaque color while the peppers begin to show blackened, blistered skin.
Step 5: The Glistening Finish
During the last minute of grilling, use your basting brush to liberally apply the garlic butter. Once removed from the grill, place the skewers on a rustic ceramic plate. Pour the remaining garlic butter—complete with the sautéed garlic bits—over the entire platter. This creates the “wet, glistening texture” that makes this dish so appetizing.
Expert Tips for Success
- Don’t Overcrowd: If the shrimp are packed too tightly, they will steam instead of sear. Give them space to develop those dark brown grill marks.
- The “C” vs. the “O”: A perfectly cooked shrimp is shaped like a “C”. If it curls tightly into an “O,” it is overcooked and may be rubbery.
- Dry Your Shrimp: Before threading, pat the shrimp dry with a paper towel. Moisture is the enemy of a good sear; removing it ensures the butter and heat can do their jobs.
- Double Skewering: If your vegetables are spinning when you try to flip them, use two parallel skewers for each kabob to lock everything in place.
The Ultimate Pairing Guide for Summer Seafood
These Grilled shrimp kabobs are versatile and pair beautifully with various sides. If you want to keep the grill hot, try serving them alongside our classic chicken kabobs for a surf-and-turf feast.
For a lighter meal, these shrimp are incredible when removed from the skewers and tossed into shrimp and avocado bowls. If you’re in the mood for something spicier, you might also enjoy our firecracker shrimp which use a similar high-heat technique.
For those who love pasta, the garlic butter from this recipe can be drizzled over a simple tuna pasta for an extra layer of richness and flavor.
Protecting Your Leftovers: Storage and Reheating
Storage: Remove the shrimp and vegetables from the skewers and store them in an airtight container in the refrigerator for up to 2 days. The garlic butter will solidify, which is normal.
Reheating: To maintain the tender texture, avoid the microwave. Instead, reheat in a skillet over medium heat with a splash of water or extra butter for 2-3 minutes until just warmed through.
Freezing: We do not recommend freezing the cooked kabobs as the texture of the peppers and shrimp will degrade significantly upon thawing.
Culinary Deep-Dive: Your Skewer Questions Answered
Yes! Use a cast iron grill pan over high heat to achieve the same dark brown char marks and blistered pepper texture described in the recipe.
Peeling them allows the garlic butter glaze to penetrate the meat. Leaving the tail on provides structural integrity and a beautiful visual presentation.
The key is high heat and short cook times. Remove the shrimp as soon as they turn opaque and form a ‘C’ shape. If they curl into a tight ‘O,’ they are overcooked.
Both work, but frozen ‘flash-frozen at sea’ shrimp are often fresher than the ‘fresh’ counter options. Ensure they are fully thawed and patted dry before grilling.
Raw minced garlic burns quickly at 400°F (200°C), becoming bitter. Sautéing it first creates the glistening micro-bits that stay sweet and aromatic even under the flame.
The Recipe: Glistening Garlic Butter Grilled Shrimp Kabobs
Grilled shrimp kabobs with Glistening Garlic Butter and Charred Peppers
Ingredients
Equipment
Method
- If using bamboo skewers, soak in water for 30 minutes. Cut peppers and onions into large, uniform chunks. Toss vegetables in oil and a pinch of salt.
- Sauté minced garlic in butter over medium-low heat for 3 minutes until fragrant. Do not brown. Divide into two bowls: one for basting, one for serving.
- Thread shrimp, peppers, and onion petals onto skewers. Ensure the shrimp is pierced twice to hold its 'C-shape' curve.
- Place kabobs and lemons on a preheated 400°F (200°C) grill. Cook for 3 minutes per side. Baste heavily with garlic butter in the final minute.
- Remove to a platter. Drench with remaining garlic butter and sautéed garlic bits. Garnish heavily with fresh parsley, flaky sea salt, and cracked pepper.
Notes
Use jumbo shrimp (16/20) for the best balance of char and juiciness.
Join the Amber Bakes Community
These Grilled shrimp kabobs are the ultimate proof that simple ingredients can produce extraordinary results. If you made these for your next gathering, I would love to see your results! Leave a comment below or tag me in your photos. For more visual inspiration and daily recipes, be sure to follow Amber Bakes on Pinterest.
Don’t forget to sign up for our newsletter to get the latest grilling secrets delivered straight to your inbox. Happy grilling!