If you have ever stood in line under the blazing sun on the North Shore of Oahu, you know that Hawaiian Garlic Shrimp is more than just a meal—it is a sensory experience. The air is thick with the aroma of sizzling butter and toasted garlic, and every plate served from those iconic shrimp trucks is a masterclass in flavor. Today, I am bringing that exact tropical magic into your kitchen with this succulent, buttery, and incredibly crispy garlic shrimp recipe.
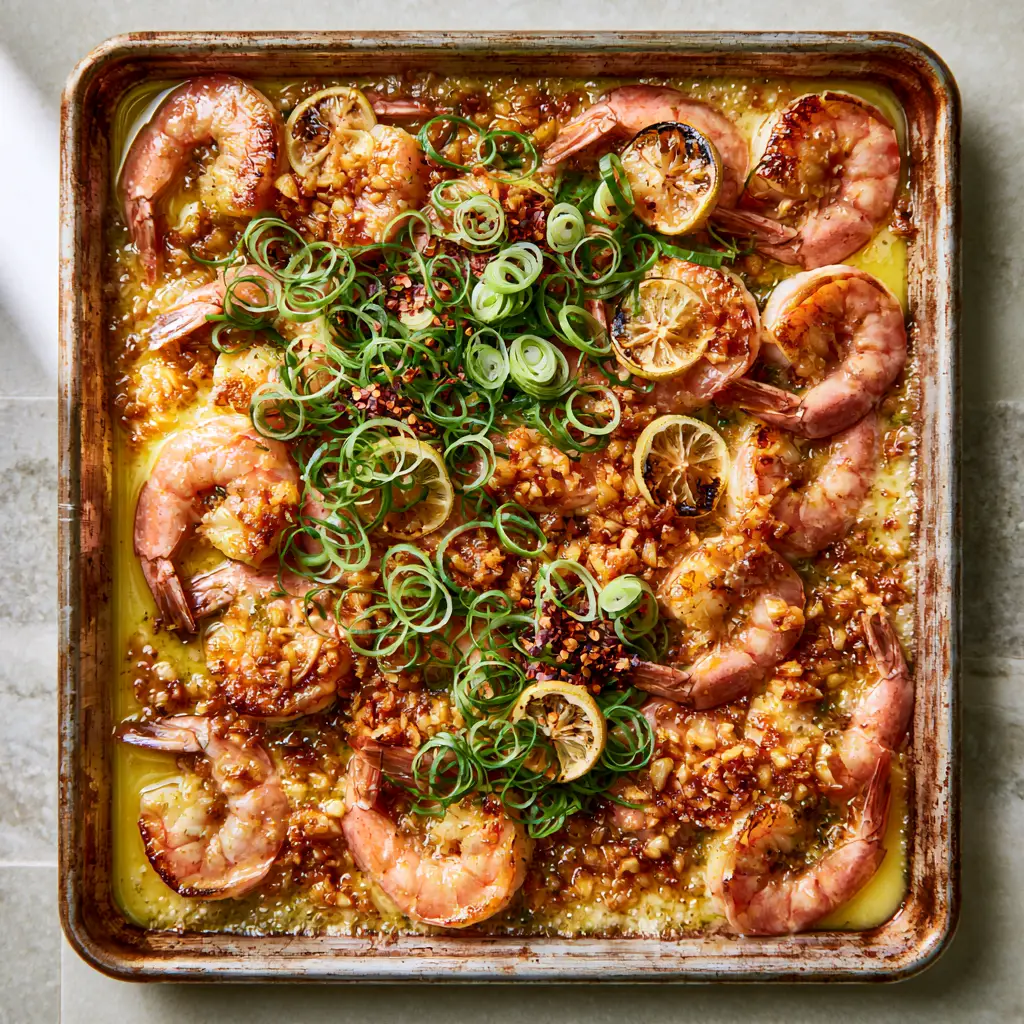
This Hawaiian Garlic Shrimp features jumbo tail-on shrimp that are seared to a perfect succulent pink with golden-brown edges. The star of the show is the thick, emulsified yellow-gold garlic butter sauce that is absolutely packed with crispy, caramelized golden-brown minced garlic bits. We finish the dish with a heavy scatter of fresh scallion rings, charred lemon half-moons, and a light sprinkle of coarse red chili flakes for that signature kick.
Why You Will Crave This Hawaiian Garlic Butter Shrimp
- Succulent Texture: We use jumbo tail-on shrimp to ensure they stay juicy while developing a beautiful golden sear.
- The “Garlic Crunch”: Unlike other recipes, we focus on caramelizing the garlic bits until they are crispy and golden-brown.
- Emulsified Sauce: The butter sauce is thick and glossy, clinging to every curve of the shrimp rather than just pooling at the bottom of the pan.
- Bright & Zesty: The addition of charred lemon slices cuts through the richness of the butter for a perfectly balanced bite.
If you love seafood with big, bold flavors, you might also want to try my Crispy Coconut Shrimp or this incredibly flavorful Southern Fried Shrimp.
The Essential Ingredients for Authentic Hawaiian Garlic Shrimp
To recreate the authentic food truck experience, the quality of your ingredients matters. Here is what you will need for this Hawaiian Garlic Shrimp:
- Jumbo Tail-On Shrimp: 1.5 lbs (680g). Look for “easy peel” shrimp with the tails left on for the best flavor and presentation.
- Fresh Garlic: 2 entire heads (approx. 15-20 cloves). You must use fresh garlic to achieve those crispy caramelized bits. Avoid the pre-minced jarred variety.
- Unsalted Butter: 1/2 cup (115g). We use unsalted so we can control the seasoning with coarse sea salt later.
- Olive Oil: 2 tbsp (30ml). This raises the smoke point of the butter, allowing us to sear the shrimp without burning the fats.
- All-Purpose Flour: 2 tbsp (16g). A light dusting on the shrimp helps create those golden-brown seared edges and thickens the sauce.
- Paprika: 1 tsp (2g). This adds a subtle smokiness and enhances the succulence and color of the shrimp.
- Fresh Scallions: 3-4 stalks. Sliced thin for a sharp, fresh contrast to the rich garlic butter.
- Lemons: 2 large lemons. One for juice and one to be sliced into thin half-moons for charring.
- Red Chili Flakes: 1 tsp (2g). Adds a light heat that balances the yellow-gold garlic butter.
- Coarse Sea Salt: To taste. Essential for finishing the dish and making the flavors pop.
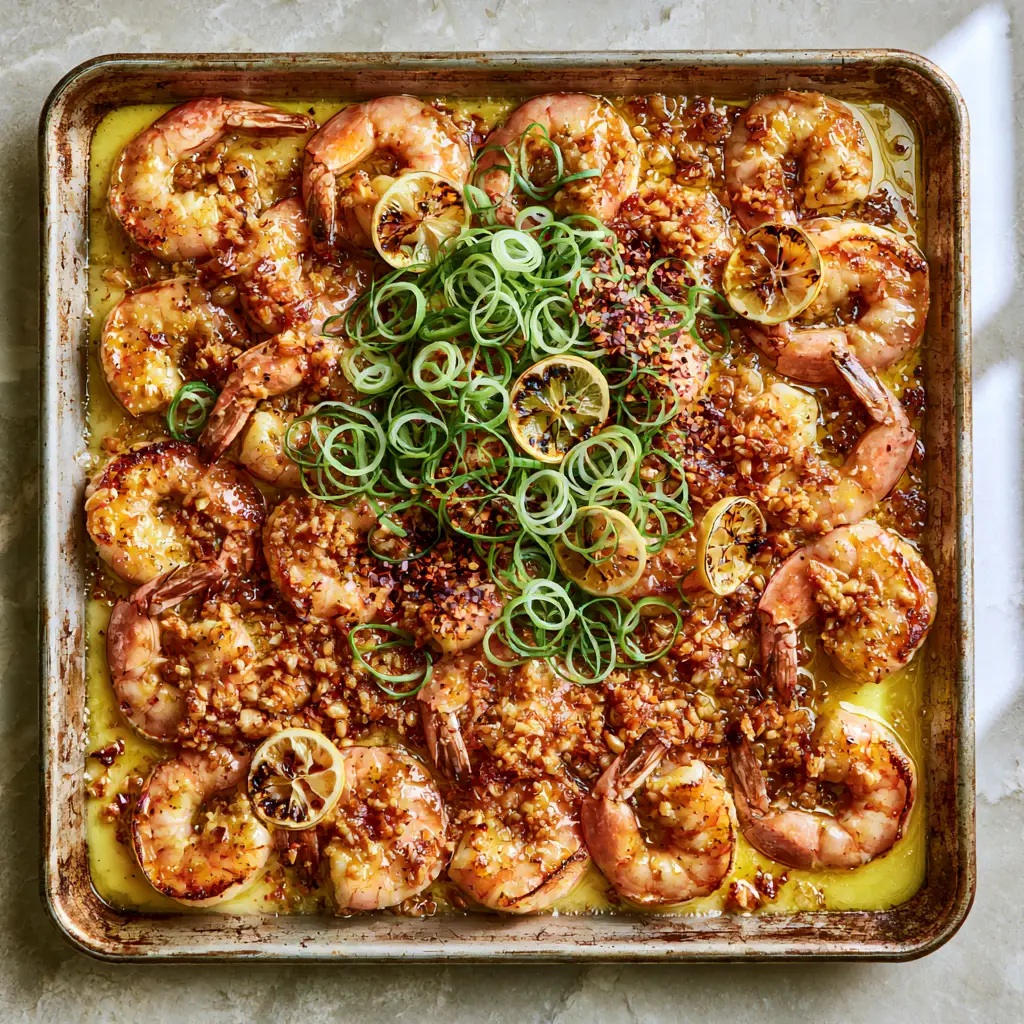
How to Make Perfectly Seared Hawaiian Garlic Shrimp
Step 1: Preparing the Jumbo Shrimp
Start by rinsing your jumbo tail-on shrimp under cold water. Pat them completely dry with paper towels. This is the secret to getting a golden-brown sear rather than steaming the shrimp. In a large bowl, toss the shrimp with flour, paprika, and a pinch of salt until lightly coated.
Step 2: Caramelizing the Garlic Bits
In a large skillet or rustic metal sheet pan over medium heat, melt half of the butter with the olive oil. Add the abundance of minced garlic. Cook, stirring constantly, for 3-5 minutes until the garlic turns a crispy, caramelized golden-brown. Do not let it burn! Once golden, use a slotted spoon to remove the garlic bits and set them aside, leaving the garlic-infused oil in the pan.
Step 3: Achieving the Golden-Brown Sear
Turn the heat up to medium-high. Add the shrimp to the pan in a single layer. Sear for 2 minutes per side until they turn a succulent pink with charred edges. The flour coating will create a beautiful crust that traps the juices inside. If you enjoy this flavor profile, you’ll definitely love my Lemon Garlic Salmon Pasta.
Step 4: Emulsifying the Yellow-Gold Sauce
Lower the heat to medium. Add the remaining cold butter and the lemon juice to the pan. Whisk or stir vigorously as the butter melts; this creates a thick, glossy, emulsified sauce. Add the caramelized garlic bits back into the pan and toss the shrimp until they are heavily coated.
Step 5: Charring the Lemons and Garnishing
Push the shrimp to one side of the pan and add the lemon half-moons. Sear them for 1 minute until they are slightly charred and softened. Scatter a heavy layer of thin green scallion rings, a light sprinkle of red chili flakes, and a final dusting of coarse sea salt over the top.
Expert Tips for Success
- Don’t Overcrowd the Pan: If you add too many shrimp at once, they will release moisture and boil rather than sear. Work in batches if necessary.
- The Butter Temperature: For a truly emulsified sauce that looks like a yellow-gold glaze, add your final pieces of butter while they are cold.
- Shell-on vs. Shell-off: While North Shore trucks often serve them shell-on, using “easy peel” tail-on shrimp provides the best balance of flavor and ease of eating.
- Control the Heat: Garlic can turn from golden to bitter in seconds. Keep it moving and be ready to pull the pan off the heat.
Storage, Reheating & Freezing
Storage: Store any leftover Hawaiian Garlic Shrimp in an airtight container in the refrigerator for up to 2 days. The garlic butter will solidify, so it will look different when cold.
Reheating: To maintain the succulent texture, reheat the shrimp in a skillet over low heat with a splash of water or extra butter. Avoid the microwave, as it will make the shrimp rubbery.
Freezing: I do not recommend freezing this dish once cooked, as the emulsified sauce will break and the shrimp texture will degrade.
What to Serve With Hawaiian Garlic Shrimp
In Hawaii, this dish is traditionally served as a “plate lunch” with two scoops of white rice and a side of creamy macaroni salad. The rice is essential for soaking up every drop of that thick emulsified garlic butter sauce.
For a unique twist, you could serve this alongside Nigerian Fried Rice or even some Authentic African Side Dishes to create a true fusion feast.
Frequently Asked Questions
We highly recommend using fresh garlic heads. Bottled garlic is stored in citric acid, which prevents it from caramelizing into those signature crispy bits.
For the most authentic Hawaiian style, you can leave the shells on, but for the best texture and ease of eating, we recommend ‘easy peel’ tail-on shrimp.
Cook the minced garlic over medium heat and stir constantly. Remove them from the pan as soon as they turn golden brown, then add them back at the end.
To get a thick, emulsified sauce, you must add cold butter to the pan at the end and whisk it vigorously into the lemon juice and shrimp juices.
The Complete Hawaiian Garlic Shrimp Recipe
Hawaiian Garlic Shrimp: The Ultimate North Shore Food Truck Recipe
Ingredients
Equipment
Method
- Pat shrimp dry and toss in a mixture of flour and paprika until succulently coated.
- Melt half the butter and oil. Fry minced garlic until it forms golden-brown caramelized bits. Remove garlic and set aside.
- Increase heat and sear shrimp in the garlic oil for 2 minutes per side until pink with golden-brown edges.
- Lower heat, add remaining cold butter and lemon juice. Stir until a thick, glossy yellow-gold sauce forms.
- Toss shrimp back with caramelized garlic. Garnish with charred lemon, scallions, chili flakes, and coarse sea salt.
Notes
Ensure shrimp are very dry before searing to get the golden edges.
Join the Community!
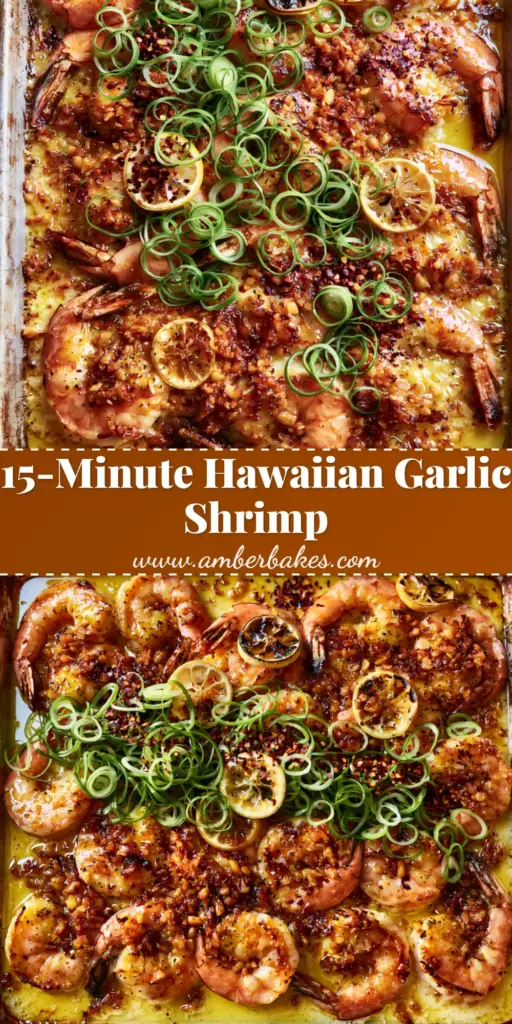
I hope this Hawaiian Garlic Shrimp transports you straight to the sunny beaches of Oahu! This recipe is a favorite on my Pinterest, and I would love to see how yours turns out. Please save this recipe to your favorite seafood board and follow amber_bakes for more tropical inspirations.
Did you make this? Take a handheld smartphone photo of your sheet pan and share it in the comments below! Don’t forget to leave a 5-star rating—it helps other home cooks find this delicious recipe.