There is something undeniably hypnotic about the perfect piece of Mochi. Whether you are watching a master artisan pound the dough with rhythmic precision or simply pulling apart a fresh piece in your own kitchen, the “Q-bounce” texture is a culinary marvel. This recipe focuses on achieving that snow-white, velvet-soft finish that mimics the most high-end wagashi shops in Tokyo.
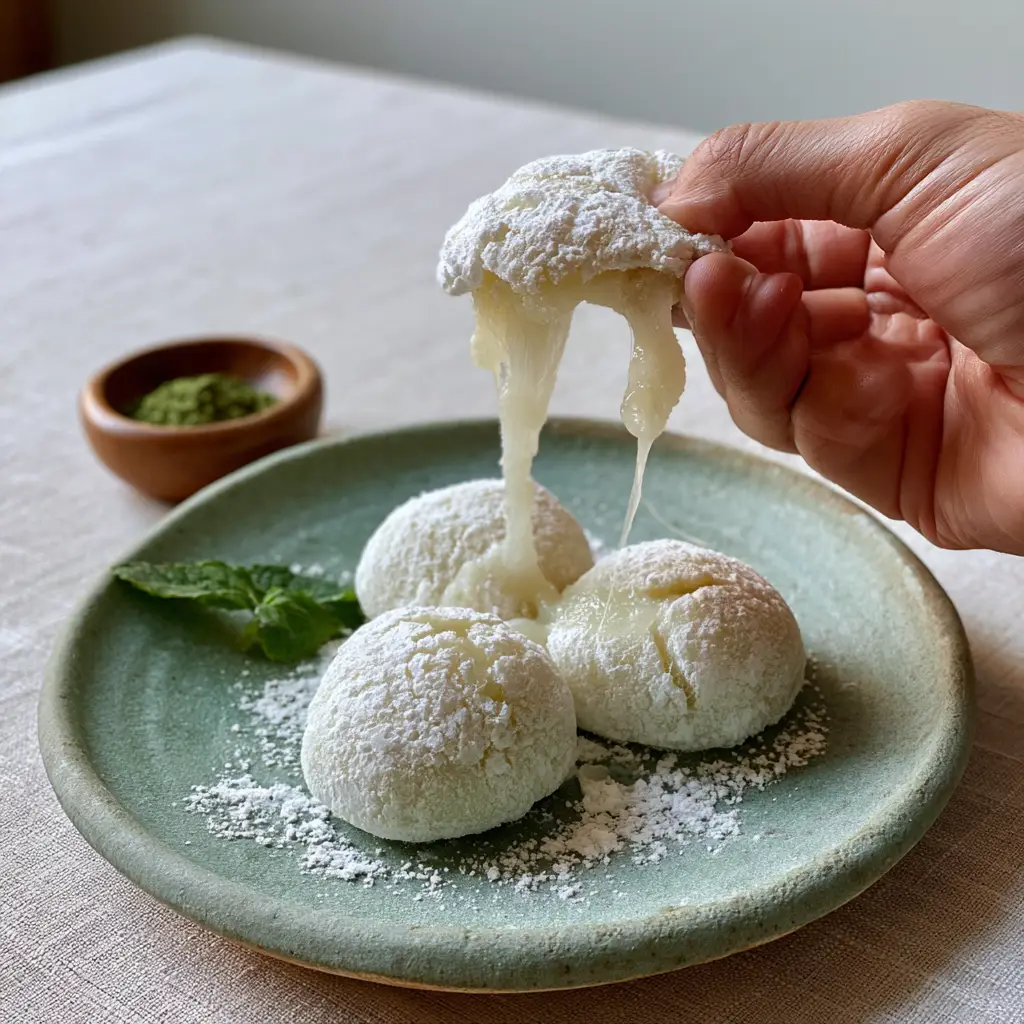
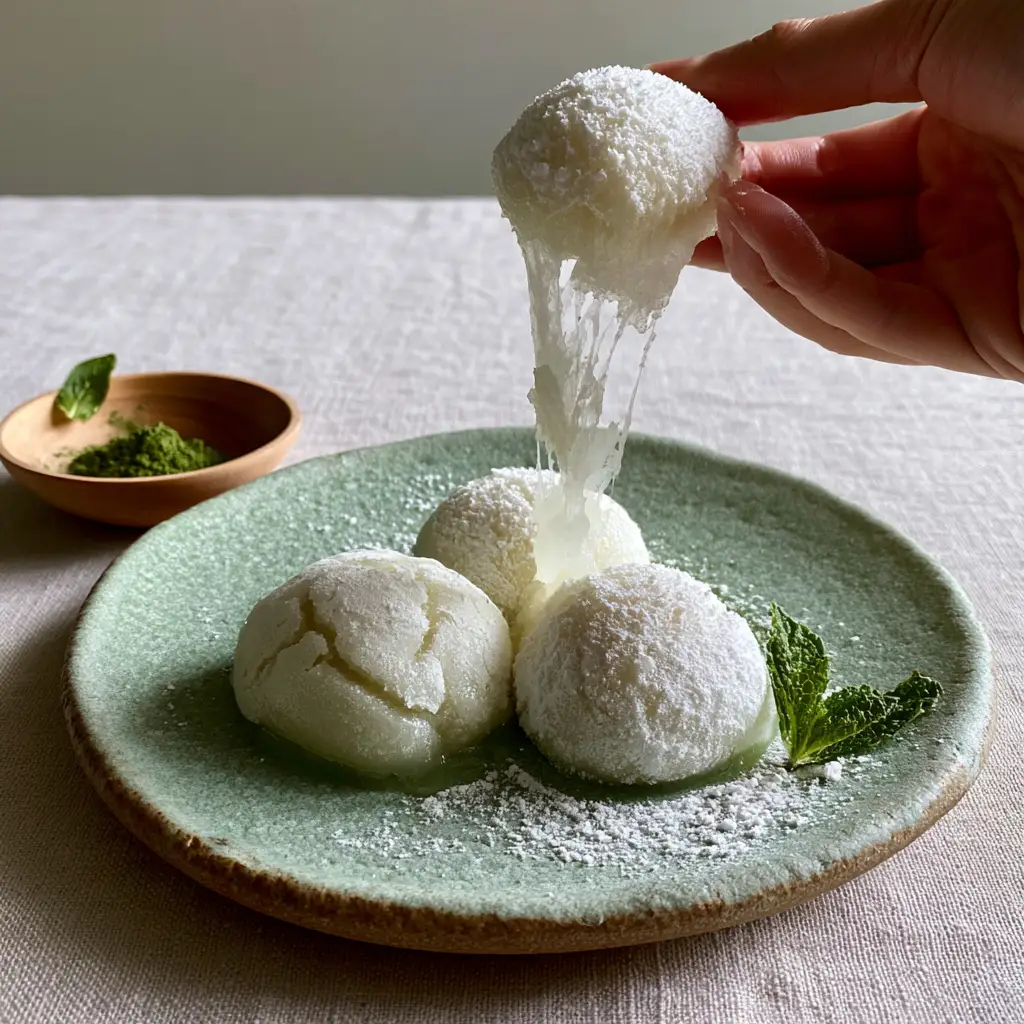
The secret to great Mochi lies in the balance of hydration and the specific type of glutinous rice flour used. By following this guide, you will create a dough so elastic and translucent that it stretches effortlessly, just like the viral social media videos that showcase the ultimate “squish” factor. We are aiming for a result that looks stunning on a matte sage green ceramic plate against a clean linen backdrop.
If you have ever been intimidated by the stickiness of glutinous rice, don’t worry. We will break down the science of starch gelatinization to ensure your dough is manageable, pillowy, and perfectly sweet. Let’s dive into the art of creating this iconic Japanese delicacy.
Why This Elastic Rice Dough is the Ultimate Crowd-Pleaser
- The Iconic “Q-Bounce”: Experience the perfect level of chewiness that is neither too tough nor too soft, providing that signature elastic pull.
- Snow-White Elegance: This recipe yields a brilliant, translucent white dough that serves as a beautiful canvas for any garnish.
- Velvet Starch Finish: A fine dusting of cornstarch provides a professional, matte look while preventing any unwanted sticking.
- Versatile Pairing: Whether you enjoy it plain or with a side of matcha, this base recipe is the foundation for countless variations like Watermelon Mochi.
- Minimalist Presentation: Designed to look like a high-quality social media snap, this dish is as much a visual experience as it is a culinary one.
Essential Components for the Perfect Snow-White Dough
Shiratamako (Glutinous Rice Flour): 1 cup (160g). This specific Japanese flour is processed into coarse granules, which provides a more refined, elastic, and “bouncy” texture compared to standard fine powders. It is the gold standard for achieving that translucent glow.
Granulated White Sugar: 1/4 cup (50g). Beyond sweetness, sugar acts as a humectant, keeping the dough soft and preventing it from hardening too quickly as it cools. It helps maintain the “elastic stretch” over several hours.
Filtered Water: 3/4 cup (180ml). The purity of your water affects the final clarity of the dough; using filtered water ensures the brightest snow-white color possible. It provides the necessary hydration for the rice starch to gelatinize.
Cornstarch (or Potato Starch): 1/2 cup (65g). This is used exclusively for dusting and handling the dough to prevent it from sticking to your hands and tools. It creates that velvet-like coating that catches the light beautifully on the plate.
Matcha Powder: 1/2 tsp (1g). Used as a decorative side element in a tiny wooden bowl, providing a sharp color contrast against the white dough. It adds a traditional earthy aroma to the plating environment.
Fresh Mint Leaf: 1 leaf. A single leaf placed near the mochi mounds adds a pop of organic color and a hint of freshness to the overall visual composition.
Must-Have Kitchen Tools for a Mess-Free Experience
To achieve the perfect “Q-bounce” without a kitchen disaster, you will need a heat-proof glass bowl for the microwave or a traditional steamer setup. A sturdy silicone spatula is non-negotiable, as the dough becomes incredibly sticky as it cooks; silicone allows for efficient folding and scraping.
You will also need a fine-mesh sieve to apply the velvet-like coating of cornstarch evenly across your work surface. Finally, prepare a handcrafted matte sage green ceramic plate and a neutral linen cloth to replicate the professional styling seen in high-end food photography.
Step-By-Step Guide to Achieving that Famous “Q-Bounce” Texture
Preparing the Glutinous Base
In your heat-proof glass bowl, whisk together 1 cup (160g) of Shiratamako and 1/4 cup (50g) of sugar. Gradually pour in 3/4 cup (180ml) of filtered water while whisking constantly to ensure no lumps remain.
The mixture should be thin and milky at this stage. Ensure all granules of rice flour are fully hydrated before introducing heat, as this prevents dry spots in your final dough.
The Gelatinization Process (Cooking the Dough)
Cover the bowl loosely with plastic wrap and microwave on high for 1 minute. Remove the bowl and use your silicone spatula to stir the mixture vigorously; you will notice some translucent clumps starting to form amidst the opaque liquid.
Repeat the microwave process in 30-second intervals, stirring between each, until the dough is entirely translucent and holds its shape. You are looking for a visual cue where the dough transitions from “milk-white” to a “glowing, semi-clear” state that is extremely sticky to the touch.
Kneading for Maximum Elasticity
Generously dust a clean work surface with cornstarch (65g). Turn the hot dough out onto the starch and sift more starch over the top of the dough. While it is still warm, use a folding motion to knead the dough.
This “folding” incorporates air and aligns the starch molecules, which creates the incredible, elastic stretch. Watch for the dough to become smooth and supple, losing its shaggy appearance for a “pillowy” look.
Shaping and Plating
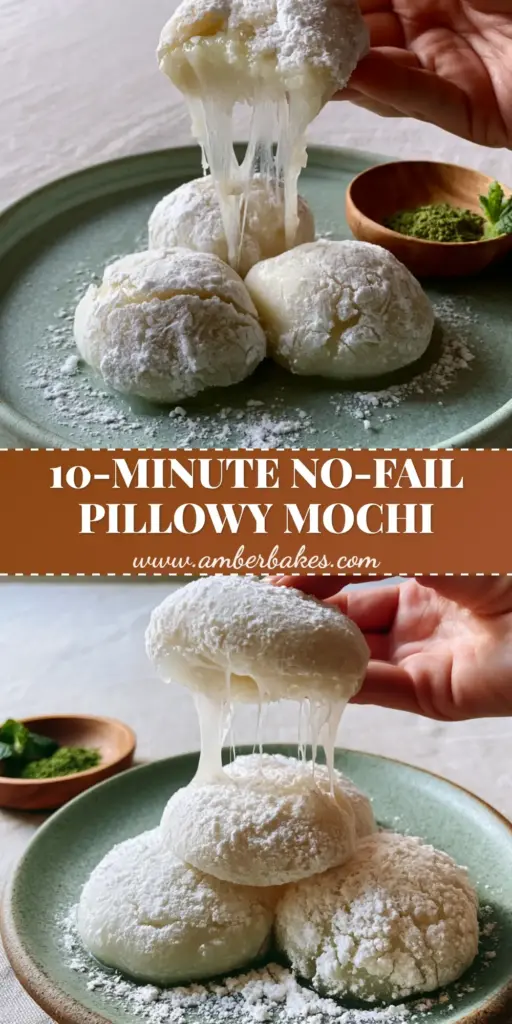
Divide the dough into three equal portions and roll them into perfectly round, pillowy mounds. As you roll, the fine cornstarch should create a velvet-like coating, though small, delicate cracks may reveal the glossy, sticky dough underneath.
Place the three mounds on your matte sage green ceramic plate. To finish the presentation, place a tiny wooden bowl with a pinch of matcha powder and a single mint leaf to the side, creating that “high-quality social media” aesthetic.
Pro Secrets for Handling Sticky Glutinous Rice Dough
- Temperature Control: Shape the dough while it is still warm; once it cools completely, it becomes less pliable and harder to smooth out.
- Starch is Your Friend: Do not be afraid to use plenty of cornstarch on your hands; you can always brush off the excess later with a soft pastry brush.
- Avoid Water on Hands: While it seems counterintuitive, using water to stop sticking can actually make the dough more slippery and messy; stick to starch for handling.
- The Pull Test: If you want to capture the perfect “elastic pull” for a photo, wait about 5 minutes after shaping so the dough is stable but still warm enough to stretch.
Keeping Your Pillowy Treats Fresh and Squishy
Mochi is best enjoyed within a few hours of making when the “Q-bounce” is at its peak. However, if you have leftovers, wrap each mound tightly in plastic wrap to prevent the air from drying out the rice starch. Store them at room temperature for up to 24 hours.
Do not refrigerate your rice cakes, as the cold temperature causes the starch to undergo “retrogradation,” making the dough hard and brittle. If you need to keep them longer, you can freeze them for up to two weeks and thaw them at room temperature to regain their softness.
Pairing Your Mochi with Global Flavors
While these white mounds are delicious on their own, they also make a fantastic dessert course after a savory meal like a coconut chicken rice bowl. The subtle sweetness of the rice balances the richness of coconut milk perfectly.
For those looking for a diverse dessert spread, consider serving these alongside other fruit-forward treats like Mango Ice Cream or even a refreshing glass of Classic Lemonade. If you are planning a themed event, these fit beautifully into Ramadan recipes as a sweet, energy-dense treat for Iftar, or as a light finish to a Hawaiian-style feast.
Common Questions About Traditional Rice Cakes
Regular rice flour will not work. You must use glutinous rice flour (like Shiratamako or Mochiko) to achieve the sticky, stretchy texture. Regular rice flour will result in a crumbly, non-elastic dough.
Use a fine-mesh sieve to dust the cornstarch over the dough. This ensures a thin, velvet-like layer rather than heavy clumps, which allows the light to catch the texture of the dough underneath.
Despite the name ‘glutinous rice,’ it does not actually contain gluten. It is safe for those with gluten sensitivities, but always check your specific brand of flour for cross-contamination.
Q-bounce is a culinary term often used in Asian cuisine to describe the perfect level of elasticity and chewiness in starch-based foods. It means the dough is bouncy and resistant to the bite without being tough.
Mochi usually turns hard if it wasn’t cooked long enough for the starch to fully gelatinize, or if it was stored in the refrigerator. Cold temperatures cause the starch to crystallize and harden.
The Ultimate Recipe for Silky White Mochi
Mochi Recipe: How to Make Ultra-Soft and Stretchy Japanese Rice Cakes
Ingredients
Equipment
Method
- Whisk Shiratamako and sugar in a heat-proof glass bowl.
- Slowly whisk in water until a smooth, milky liquid forms without lumps.
- Cover loosely and microwave for 1 minute. Stir with a silicone spatula.
- Microwave in 30-second intervals until the dough becomes translucent and glowing.
- Turn dough onto a starch-dusted surface and fold while warm to build elasticity.
- Roll into three rounds and place on a sage green plate with matcha and mint.
Notes
Work with the dough while warm; it becomes much harder to shape once cooled.
Closing & Call to Action
Making authentic Mochi at home is a rewarding sensory experience that brings the textures of Japan right into your kitchen. From the velvet-like coating to the incredible elastic stretch, these rice cakes are a testament to the beauty of simple ingredients. If you enjoyed this “Q-bounce” journey, please leave a comment below and share your results! Don’t forget to follow amber_bakes on Pinterest for more visually stunning recipe inspiration.