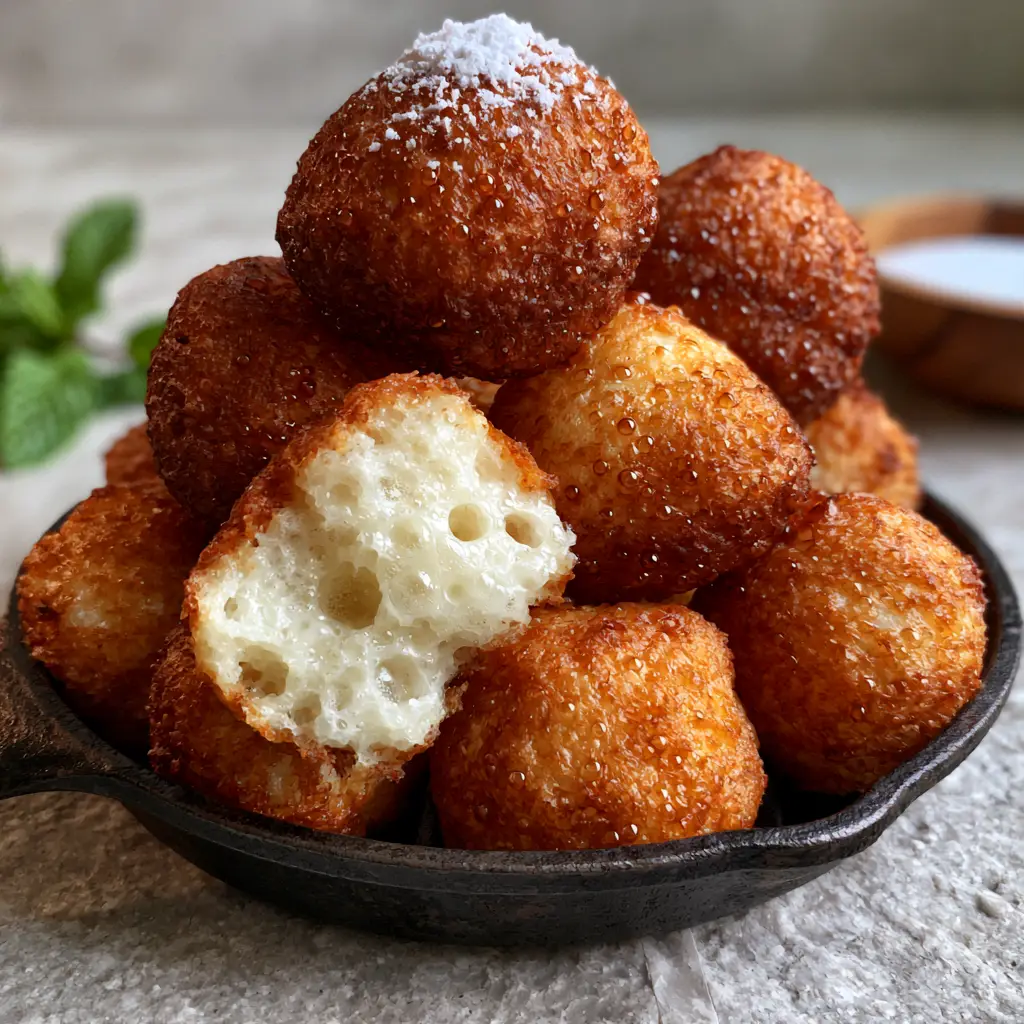
Vitumbua are the crown jewel of East African street food, specifically hailing from the coastal regions of Tanzania and Kenya. These sweet, yeast-risen coconut rice cakes are a sensory masterpiece, featuring a crispy, deep golden-brown exterior and a stark white, steaming, airy honeycomb interior. If you have been searching for a breakfast treat that is naturally gluten-free, dairy-free, and incredibly addictive, you have found it.
Imagine waking up to the aroma of warm coconut cream and aromatic cardamom wafting through your kitchen. When you bite into a fresh Vitumbua, the delicate crust shatters to reveal a soft, pillowy crumb filled with distinct fermentation bubbles. It is the perfect balance of sweetness and tropical flair, often enjoyed alongside a cup of spiced chai or as a standalone dessert.
Why You Will Fall in Love With These Rice Cakes
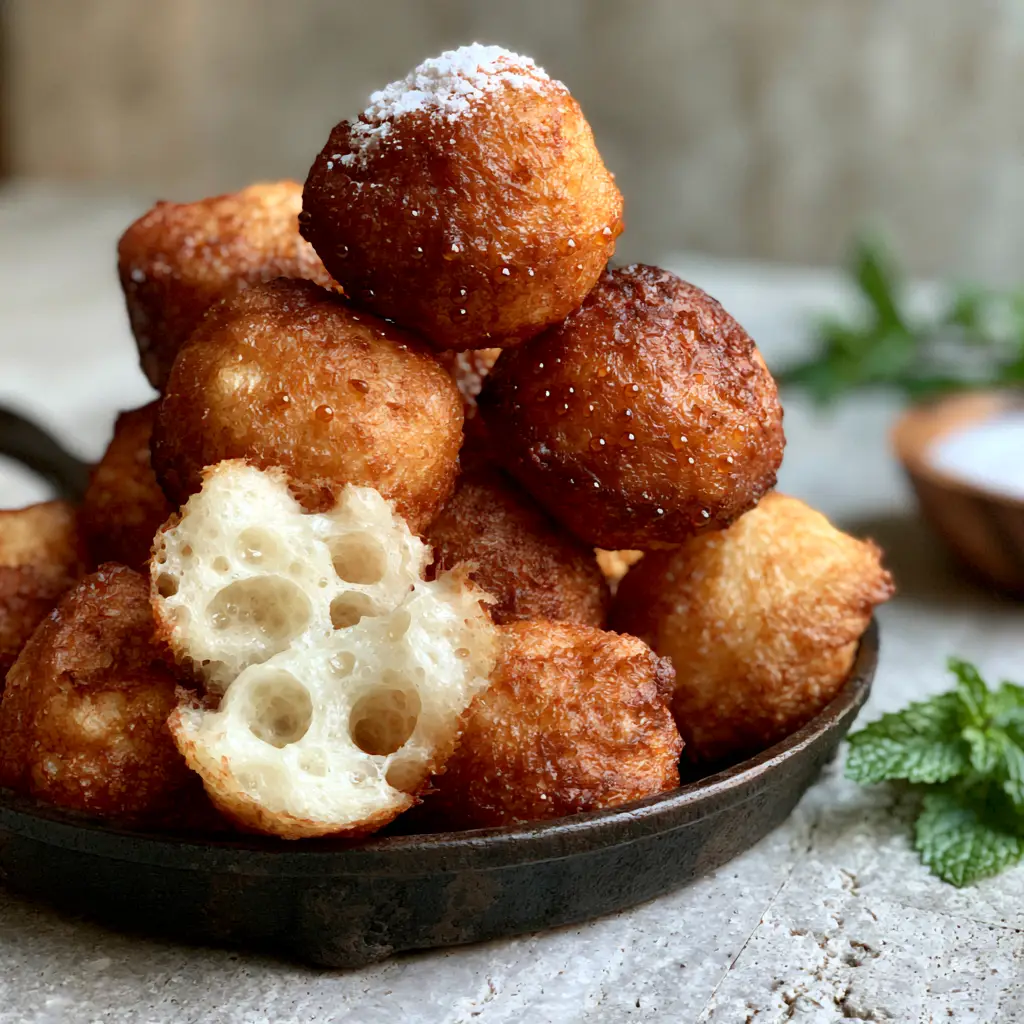
- The Perfect Texture Contrast: A spherical, fried crust that glistens with a tiny hint of oil, protecting a center that is as light as a cloud.
- Authentic Flavor Profile: The combination of fermented rice and rich coconut milk creates a complex, tangy, and sweet flavor that is uniquely East African.
- Visually Stunning: Piled high in a black cast iron pan and finished with a fine powdered sugar dusting, they are the definition of “food photography goals.”
- Naturally Inclusive: This recipe is naturally vegan and gluten-free, making it a fantastic addition to your collection of authentic African dishes.
The Essential Ingredients for Perfect Vitumbua
To achieve that signature honeycomb interior crumb, the quality of your ingredients matters. Each component plays a vital role in the fermentation and structural integrity of the cake.
Short-Grain White Rice: You will need 2 cups (400g) of short-grain rice. This variety provides the necessary starch to create a smooth batter that holds air bubbles perfectly. Unlike long-grain rice, short-grain rice yields a creamier, softer center.
Thick Coconut Milk: Use 1 cup (240ml) of full-fat coconut milk. Avoid the “light” versions; the high fat content is what gives the Vitumbua its rich, melt-in-your-mouth quality and the hint of coconut cream flavor.
Granulated Sugar: ¾ cup (150g) provides the sweetness and also feeds the yeast, helping the cakes rise during the fermentation process.
Active Dry Yeast: 1 ½ teaspoons (5g) is the engine of this recipe. It creates the distinct fermentation bubbles that result in the airy, honeycomb interior visible when the cake is torn open.
Ground Cardamom: 1 teaspoon (2g) of freshly ground cardamom provides that unmistakable floral, warm aroma that defines traditional Tanzanian sweets.
A Pinch of Salt: A vital “invisible” ingredient to balance the sweetness and enhance the coconut notes.
Vegetable Oil: For searing and frying. You need a high-smoke point oil to achieve that deep golden-brown crust without burning.
Powdered Sugar & Mint: For the final aesthetic touch—a light dusting of sugar and a fresh mint leaf garnish for a pop of color.
The Magic of the Black Cast Iron Pan
Traditionally, Vitumbua are made in a special multi-holed pan. In the West, this is most commonly known as an aebelskiver pan. Using a black cast iron pan is crucial because it retains heat evenly, allowing the exterior to develop a perfectly spherical, crispy fried exterior while the inside steams into a honeycomb structure.
If you enjoy exploring different regional techniques, you might find that this pan is also useful for creating various south African dishes or even Dutch poffertjes. The seasoned iron provides a non-stick surface that ensures your cakes slide out easily, revealing a tiny visible oil glisten that signifies a perfect fry.
Step-by-Step Guide to the Fluffiest Vitumbua
1. Soaking the Rice
Start by rinsing your 2 cups (400g) of rice until the water runs clear. Soak the rice in plenty of water for at least 4 hours, or ideally overnight. This softens the grains, ensuring the batter becomes a silky-smooth liquid.
2. Blending the Batter
Drain the rice and add it to a high-speed blender. Add the 1 cup (240ml) of coconut milk, ¾ cup (150g) sugar, 1 ½ tsp (5g) yeast, 1 tsp (2g) cardamom, and a pinch of salt. Blend on high until the mixture is completely smooth with no grit remaining. It should have the consistency of heavy cream.
3. The Fermentation Rise
Pour the batter into a large bowl, cover it with a warm damp cloth, and let it sit in a warm spot for 1 to 2 hours. Visual Cue: You are looking for the batter to double in size and become very frothy. These bubbles are what will later become the stark white honeycomb interior.
4. The Sizzling Fry
Place your cast iron aebelskiver pan over medium heat. Add about ½ teaspoon (2.5ml) of oil into each hole. Once the oil is shimmering, pour the batter into each hole, filling them about ¾ of the way full. You should hear a satisfying sizzle immediately.
5. The Flip and Brown
As the edges turn deep golden-brown and bubbles form on the surface, use a wooden skewer to gently flip the cakes. This is where the perfectly spherical shape is formed. Cook for another 2-3 minutes until the entire exterior is crispy and browned.
Expert Tips for Success
- Heat Management: If your Vitumbua are browning too fast but remain raw inside, lower your heat. You want a slow enough cook to allow the steam vapors to cook the interior.
- The Skewer Test: Insert a toothpick into the center of a cake; if it comes out clean, the stark white honeycomb is set.
- Don’t Rush the Rise: If your kitchen is cold, the yeast will be sluggish. Try placing the bowl inside an oven (turned off) with the light on.
- Clean the Pan: Wipe out each hole with a paper towel between batches to prevent burnt bits from sticking to your next round of cakes.
What to Serve With Vitumbua
While these cakes are a delight on their own, they are even better when paired with other African food recipes. For a savory-sweet breakfast contrast, serve them alongside a bowl of Kuku Paka (Coconut Chicken Curry). The creamy sauce of the curry complements the coconut notes in the rice cakes beautifully.
For a lighter option, serve them with a dollop of extra coconut cream and a few fresh berries. The fresh mint leaf garnish isn’t just for looks; it adds a refreshing top note to the warm, spiced cakes.
Storage, Reheating, and Freezing
Storage: Keep leftover Vitumbua in an airtight container at room temperature for up to 2 days, or in the fridge for 5 days.
Reheating: To maintain the crispy fried exterior, reheat them in a dry pan over low heat or in an air fryer at 350°F (175°C) for 3 minutes. Avoid the microwave, as it will make the crust soggy.
Freezing: These freeze exceptionally well! Place them on a baking sheet to freeze individually, then transfer to a freezer bag. They will stay fresh for up to 3 months.
Frequently Asked Questions
Yes! Traditional Vitumbua use coconut milk and rice, making them completely plant-based and dairy-free.
Yes, you can substitute with fine rice flour, but the texture is traditionally superior when using soaked and blended short-grain rice.
Maintain a medium-low heat and use a generous amount of oil in each hole of the cast iron pan. Cast iron holds heat intensely, so you don’t need a high flame.
While the spherical shape is traditional, you can use a regular non-stick skillet to make small pancake-style Vitumbua. The texture will be slightly different, but the flavor remains authentic.
This usually happens if the batter didn’t ferment long enough or the yeast was inactive. Ensure your batter is very bubbly and frothy before you start frying.
The Official Vitumbua Recipe Card
Vitumbua: The Ultimate Fluffy Coconut Rice Cakes Recipe
Ingredients
Equipment
Method
- Rinse the rice and soak in water for at least 4 hours or overnight.
- Drain the rice and blend with coconut milk, sugar, yeast, cardamom, and salt until completely smooth.
- Allow the batter to sit in a warm place for 1-2 hours until frothy and doubled in size.
- Heat the cast iron aebelskiver pan and add oil to each hole.
- Fill holes 3/4 full. Cook until the bottom is deep golden-brown and bubbles appear on top.
- Use a skewer to flip the cakes and cook the other side until spherical and crispy.
Notes
Keep the heat at medium-low to ensure the interior honeycomb sets without burning the crust.
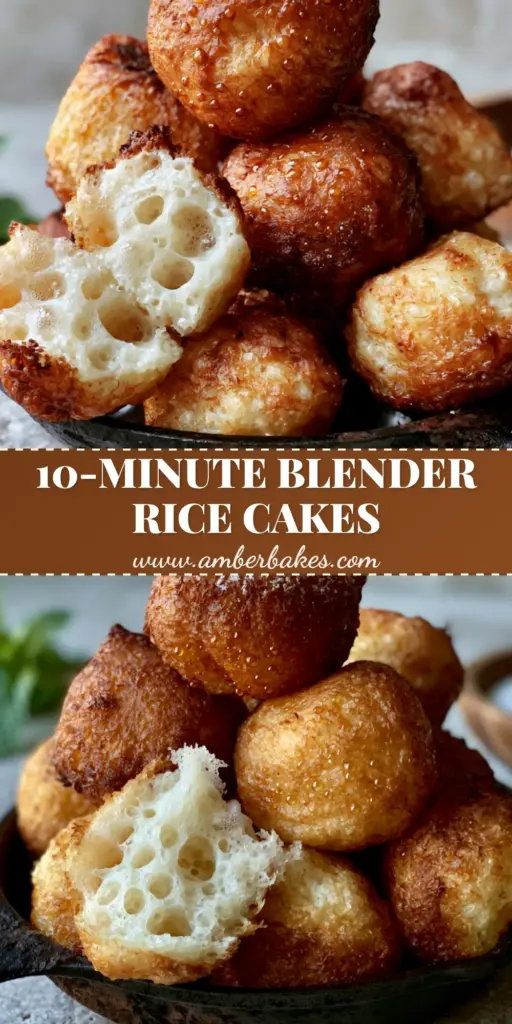
Share Your Creations!
Did you manage to get that perfect honeycomb interior? I would love to see your results! Please save this recipe to your favorite Pinterest board by clicking the “Pin” button. If you made this, leave a 5-star rating in the recipe card above and share a photo of your golden-brown Vitumbua in the comments below. Following @amber_bakes for more easy African dinner recipes and sweet treats!