Shrimp Ceviche is the quintessential dish of coastal summer living, offering a vibrant explosion of citrus and seafood that feels like a beach vacation in every bite. This specific recipe transforms plump, translucent pink shrimp into a masterpiece of texture and flavor, perfectly balanced atop a crunch that resonates with every mouthful. If you have been searching for that authentic, bright, and airy Mexican flavor profile, you have arrived at the definitive source.
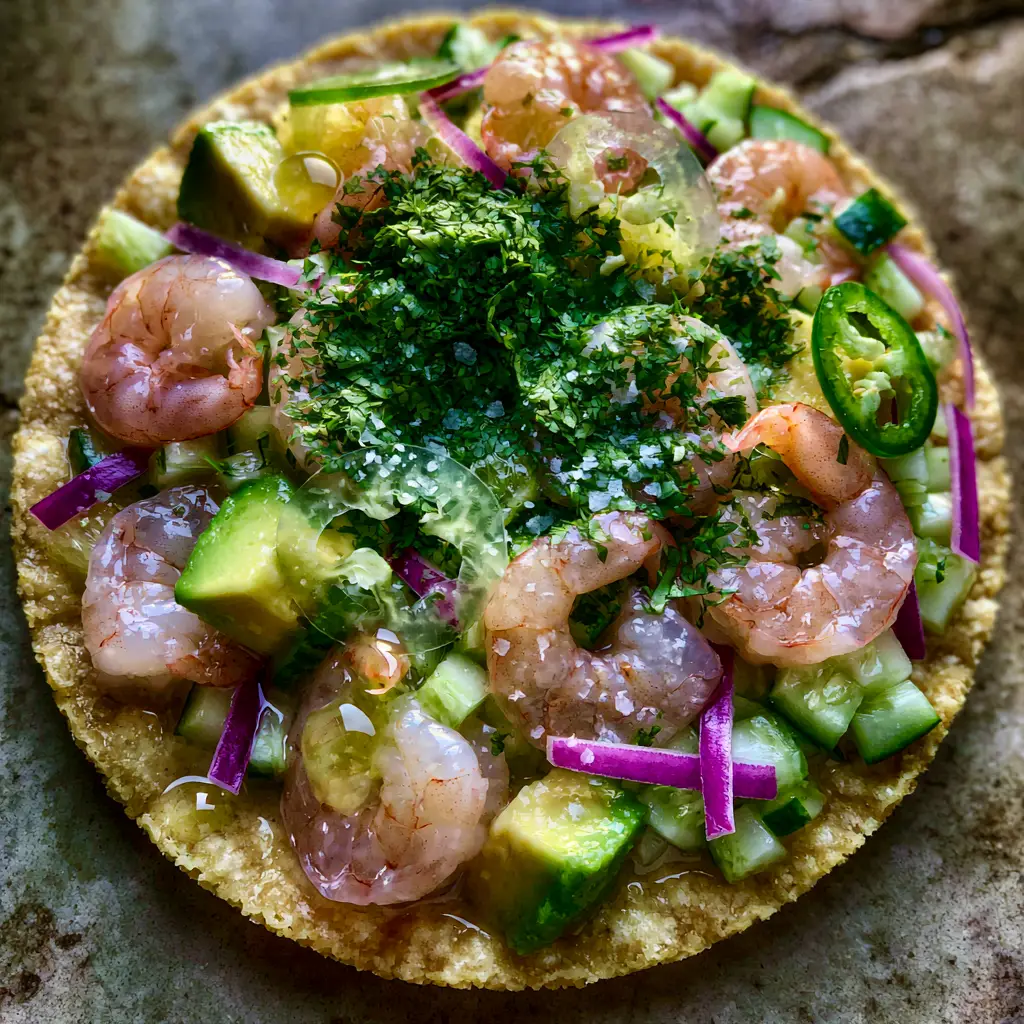
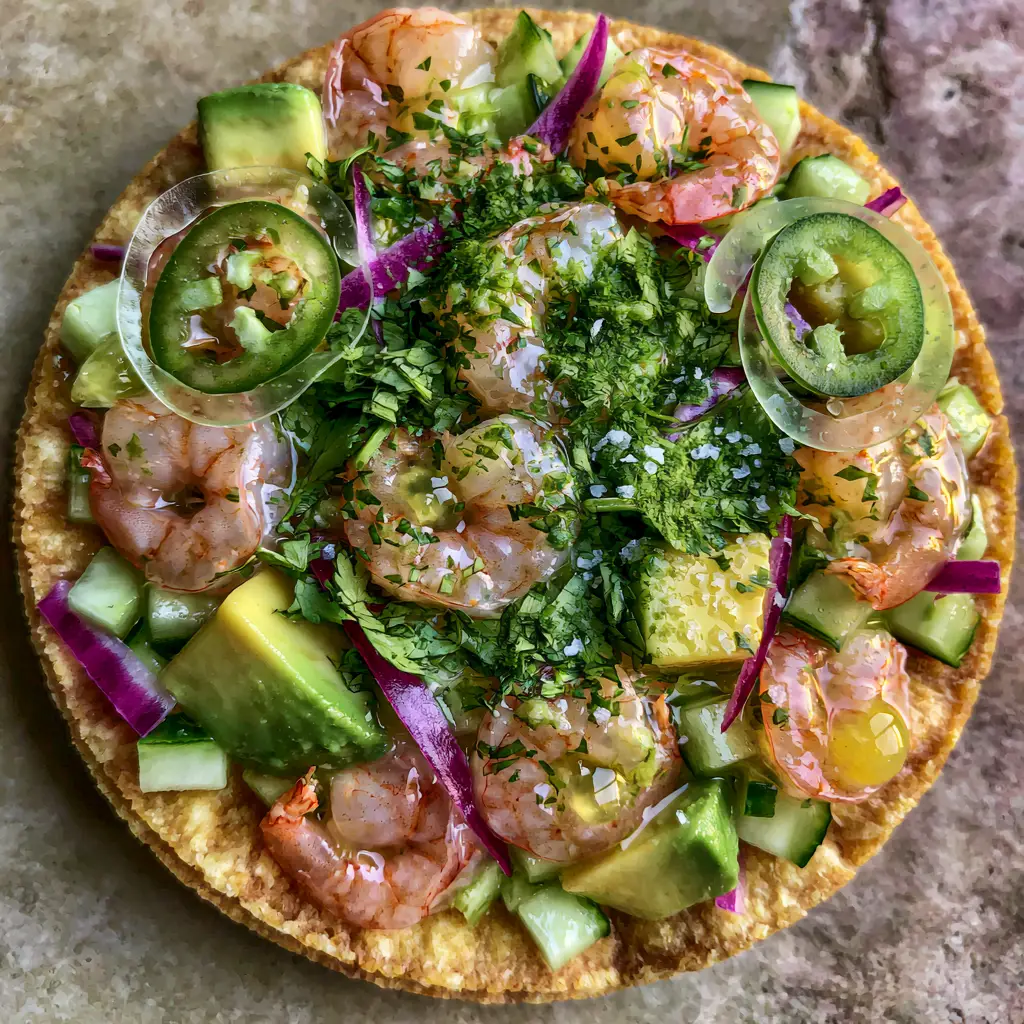
When you look at a perfectly prepared Shrimp Ceviche, you should see glistening surfaces, electric colors, and ingredients that look alive on the plate. Our version focuses on the forensic details of the “cold-cook” process, ensuring your shrimp are never rubbery but instead remain delicate, moist, and tender. Paired with buttery avocado and crisp vegetables, this dish isn’t just a meal; it’s a sensory experience designed for enthusiastic home cooks.
Why This Specific Citrus-Cured Shrimp Recipe Works
- Perfect Curing Window: We utilize a specific marination timeline to ensure shrimp reach a delicate translucent pink without becoming tough.
- Structural Integrity: Using thick, golden corn tostadas provides the essential “crunch” foundation required to support the moist ceviche topping.
- Color Contrast Mastery: From the electric purple of slivered red onions to the emerald green of fresh cilantro, this dish is visually engineered for high-end presentation.
- The Glisten Factor: We teach you how to achieve that handheld smartphone-photo-worthy shine using natural citrus oils and sea salt flakes.
To really round out a coastal-themed dinner, consider pairing this with a batch of refreshing summer mocktails or a crisp fruit-forward salad for the ultimate seasonal spread.
Essential Ingredients for Vibrant Coastal Ceviche
Raw Pink Shrimp: 1 lb (450g) of high-quality, peeled and deveined shrimp is the heart of the dish. Look for shrimp that appear translucent and firm to the touch; these will curl beautifully into plump rounds once the acid hits them.
Fresh Lime Juice: 1 cup (240ml) of freshly squeezed juice provides the citric acid necessary for denaturation. Never use bottled juice, as the enzymes in fresh lime are what “cooks” the seafood while maintaining its moist, fresh texture.
Creamy Avocado: 1 large (approx. 200g) Hass avocado provides the “buttery” counterpoint to the sharp citrus. The fat in the avocado coats the palate, allowing the heat of the jalapeño to shine without overwhelming the senses.
Crisp Cucumber: 1 cup (150g) of finely diced English or Persian cucumber adds a refreshing aqueous crunch. This ingredient acts as a structural filler that keeps the ceviche light and airy.
Electric Purple Red Onion: 1/2 small (approx. 60g) onion, slivered into thin half-moons. The sharp bite of the onion is mellowed by the lime juice, turning it a vibrant, electric purple hue.
Fresh Emerald Cilantro: 1/2 cup (15g) of chopped leaves and tender stems. This provides the herbal “top note” that is synonymous with authentic Mexican Shrimp Ceviche.
Green Jalapeños: 1-2 medium (30g) peppers, sliced into thin, translucent rounds. Keeping the seeds is optional, but the visual of the green rounds against the pink shrimp is essential for the aesthetic.
Thick Corn Tostadas: 8-10 crispy golden corn tostadas. These must be thick enough to resist the moisture of the lime juice droplets for at least 15 minutes of serving time.
Sea Salt Flakes: A generous dusting of flaky salt catches the light and provides a finishing “pop” of salinity that enhances the natural sweetness of the shrimp.
Necessary Tools for Precision Preparation
To achieve the macro-photography-worthy results seen in high-end food blogs, you need the right gear. A sharp Chef’s Knife is non-negotiable for creating those thin, translucent jalapeño rounds and slivered onions. A non-reactive glass or ceramic bowl is vital; metal bowls can impart a tinny flavor when reacting with the high volume of lime juice.
Lastly, a citrus press will ensure you extract every drop of juice without the bitter pith oils. If you are planning a full barbecue spread, you might also find a high-quality set of skewers useful for recipes like Mexican barbecue chicken skewers, which share many of these same vibrant flavor profiles.
Step-by-Step Mastery: Achieving the Perfect Shrimp Texture
Preparing the Seafood Base
Begin by cutting your cleaned shrimp into bite-sized pieces, roughly 1/2 inch (1.25cm) each. This increased surface area allows the lime juice to penetrate evenly, ensuring a consistent “cook” through the center of every piece. Place the shrimp in your non-reactive bowl and season lightly with a pinch of fine sea salt.
The Cold-Acid Curing Process
Pour the fresh lime juice over the shrimp until they are completely submerged. Cover the bowl and refrigerate for 20 to 30 minutes. Watch for the visual cue: the shrimp will transform from greyish-translucent to a delicate, opaque pink. Do not exceed 45 minutes, or the acid will begin to break down the proteins too far, resulting in a rubbery texture.
Integrating the Vibrant Garnish
While the shrimp cures, prepare your vegetables. Sliver the red onion into paper-thin slices and dice the cucumber into uniform cubes. Once the shrimp are ready, do not drain all the juice—keep about 2 tablespoons (30ml) of the “Leche de Tigre” (the marinating liquid) to toss with the vegetables for maximum flavor infusion.
Folding in the Creamy Elements
Gently fold in the diced avocado, chopped emerald cilantro, and jalapeño rounds. Use a rubber spatula to avoid mashing the avocado chunks; you want them to remain distinct, buttery cubes nestled between the plump shrimp. For those who enjoy this flavor profile, you might also love our grilled shrimp and avocado bowls for a warm alternative.
Final Assembly and Finishing Touches
Pound for pound, the assembly is what makes or breaks the presentation. Spoon a generous portion of the Shrimp Ceviche onto each crispy golden corn tostada. Ensure that every tostada has at least one visible jalapeño round and a sliver of electric purple onion on top. Finish with a heavy dusting of sea salt flakes and a few extra lime juice droplets to catch the natural daylight.
Expert Tips for Visual and Flavor Success
- The Ice Bath Trick: If you are serving this outdoors, place your serving bowl inside a larger bowl filled with ice. This keeps the shrimp at the optimal “moist and fresh” temperature.
- Slicing Precision: Use a mandoline for the jalapeños to get those perfectly translucent rounds that catch the light.
- Avoid the Sog: Only assemble the tostadas immediately before serving. If you need a more stable side dish for a party, consider a traditional coleslaw or our spicy corn slaw.
- Salt Timing: Only add the flaky sea salt at the very last second. It provides a textural crunch that dissolves if it sits in the lime juice too long.
The Science of Shelf Life and Storage
Shrimp Ceviche is best enjoyed within 2 hours of preparation. Because the lime juice continues to “cook” the shrimp as it sits, leftovers will eventually become tough. If you must store it, keep the ceviche in an airtight container in the coldest part of the refrigerator for no more than 12 hours.
Never freeze ceviche. The delicate cellular structure of the marinated shrimp and the high water content of the cucumbers and tomatoes (if used) will turn to mush upon thawing. If you are looking for seafood that stores better, try our baked honey garlic cod for a meal-prep friendly option.
Ideal Pairings for a Mexican Feast
This Shrimp Ceviche is a star on its own, but it thrives in a full spread. Serve it alongside Filipino chicken barbecue for a fusion feast, or keep it traditional with charred skewers that offer a smoky contrast to the cold citrus seafood. For dessert, a light and fruity mango mochi or a slice of mango cheesecake cleanses the palate perfectly after the heat of the jalapeños.
Frequently Asked Questions
Yes, but they must be completely thawed and patted dry before marinating. High-quality frozen-at-sea shrimp often yield excellent results as they are frozen at peak freshness.
For 1/2 inch pieces of shrimp, 20-30 minutes is the ‘sweet spot.’ Any less and they may remain raw in the center; any more and the acid will make them rubbery and dry.
While no heat is used, the citric acid in the lime juice denatures the proteins in the shrimp, changing the texture from raw and grey to firm and pink. This process effectively ‘cooks’ the seafood enough to make it safe and delicious to eat.
Wait to assemble the tostadas until the very moment you are ready to eat. You can also spread a thin layer of mashed avocado or mayo on the tostada first to create a moisture barrier.
Red onions contain anthocyanins which react to the low pH of lime juice. This natural chemical reaction creates that beautiful, electric purple hue characteristic of authentic ceviche.
The Definitive Shrimp Ceviche Recipe
Shrimp Ceviche on Crispy Tostadas: The Ultimate Guide to Coastal Freshness
Ingredients
Equipment
Method
- Place the chopped raw shrimp in a non-reactive glass bowl. Pour the 1 cup (240ml) of fresh lime juice over the shrimp until fully submerged.
- Refrigerate for 20-30 minutes. Look for the visual cue of the shrimp turning from translucent grey to a delicate, plump pink.
- Add the diced cucumber and slivered red onion to the shrimp and lime juice. Gently fold to combine.
- Add the diced avocado and emerald cilantro. Use a gentle folding motion to keep the avocado chunks intact and buttery.
- Spoon the mixture onto crispy golden tostadas. Top with translucent jalapeño rounds and a heavy dusting of sea salt flakes.
Notes
Only assemble tostadas right before eating to prevent a soggy base.
Join the Culinary Conversation!
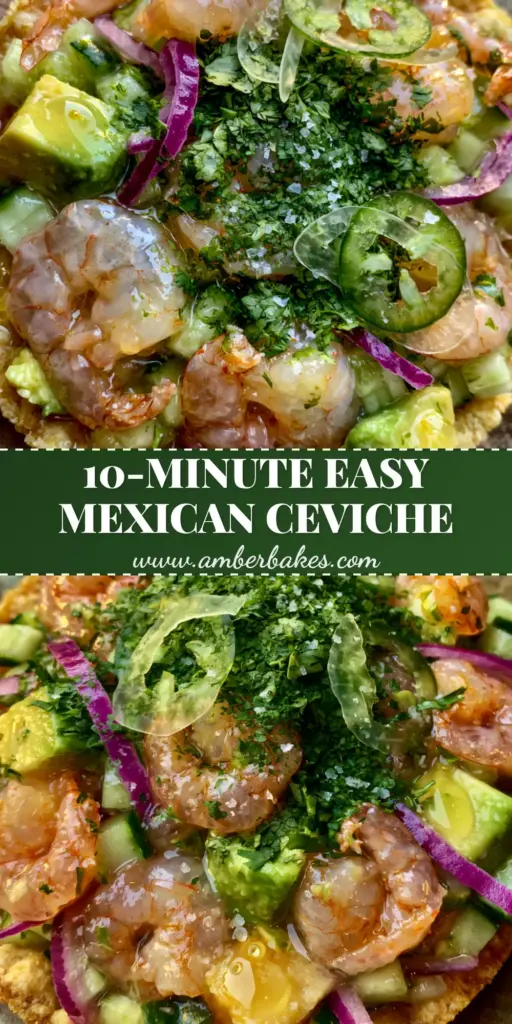
We hope this Shrimp Ceviche brings a splash of coastal brightness to your kitchen. There is nothing we love more than seeing your vibrant recreations—especially those beautiful macro shots of the electric purple onions and glistening shrimp! If you enjoyed this recipe, please leave a comment below and let us know your favorite way to serve it.
Don’t forget to follow us on Pinterest for more visually stunning recipe inspiration and save this pin to your “Healthy Summer Dinners” board. Sign up for our newsletter to receive the latest healthy summer dinner recipes directly in your inbox!