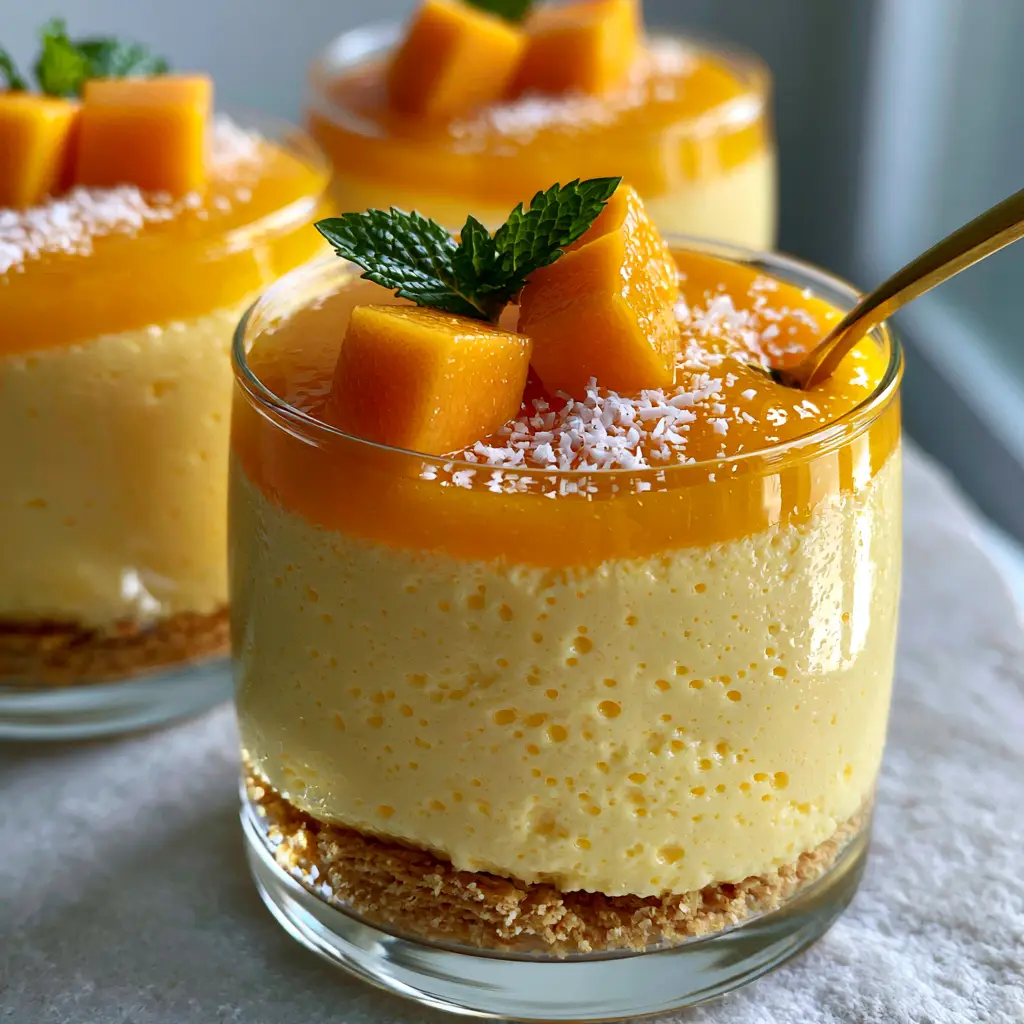
Mango mousse cups are the ultimate marriage of sophisticated presentation and effortless preparation. When you first dip a gold spoon into that vibrant, glossy orange glaze, you are met with a cloud-like texture that feels like a tropical breeze. This recipe is designed to replicate the stunning visual of a professional patisserie, right in your own kitchen.
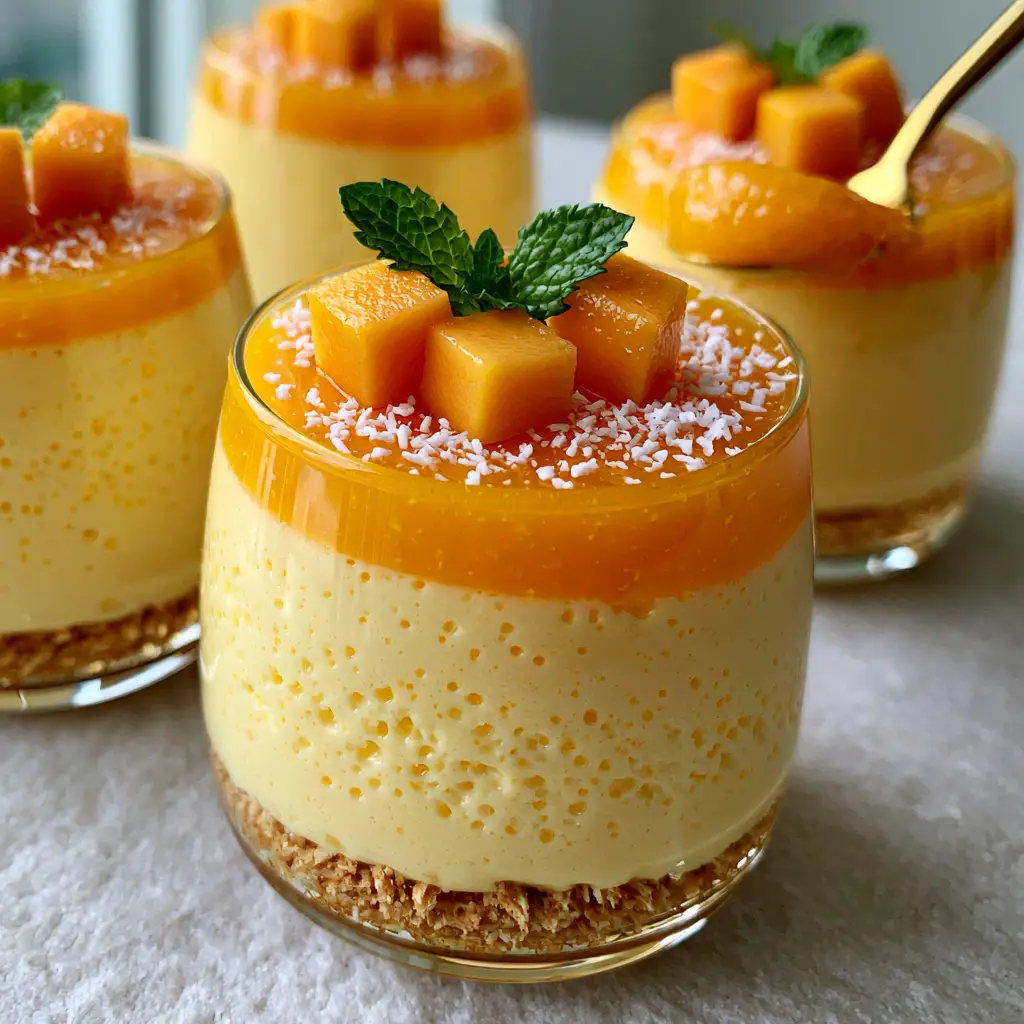
The secret to these Mango mousse cups lies in the distinct layering: a buttery, golden-brown graham cracker foundation, a light-as-air aerated mousse, and a concentrated fruit glaze. Every bite offers a contrast between the crunchy base and the silky, pale yellow cream. It is a sensory experience that balances sweetness with the natural tang of ripe mangoes.
Whether you are hosting a summer dinner party or looking for a refreshing afternoon treat, these individual servings are perfect. The addition of fine desiccated coconut and fresh mint adds a final touch of elegance that makes these cups look like a handheld smartphone photo from a high-end food magazine. Let’s dive into the culinary science of creating the perfect aerated mousse.
Why These Layered Mango Mousse Cups Are a Must-Make
- Textural Contrast: You get the crunch of buttery graham crackers, the fluffiness of the mousse, and the smooth silkiness of the mango glaze in every spoonful.
- Visually Stunning: The deep orange glaze against the pale yellow mousse creates a beautiful gradient effect that is naturally eye-catching.
- No-Bake Simplicity: This recipe requires zero oven time, making it ideal for hot days when you want a gourmet dessert without the heat.
- Perfect Portions: Individual glass cups mean no messy slicing, ensuring every guest gets a perfectly presented dessert.
The Essential Components for Tropical Mousse Success
Honey Mangoes or Alphonso Mangoes: You need 3 large (approx. 900g) mangoes to achieve that vibrant orange color and intense flavor profile. These varieties are less fibrous, ensuring your puree is smooth and your mango pudding style layers are velvety.
Graham Cracker Crumbs: 1.5 cups (150g) of finely crushed crackers provide the golden-brown base. They act as the structural anchor for the lighter layers above, much like a mini mango cheesecake cup.
Unsalted Butter: 4 tbsp (56g) of melted butter binds the crumbs together. Using unsalted butter allows you to control the seasoning of the base precisely.
Heavy Whipping Cream: 1.5 cups (360ml) of chilled heavy cream (at least 36% fat) is vital for the aerated mousse. This is what creates those tiny, visible air bubbles mentioned in our visual blueprint.
Powdered Sugar: 0.5 cups (60g) provides sweetness without the grittiness of granulated sugar. It dissolves instantly into the whipped cream for a seamless finish.
Gelatin Powder: 2 tsp (7g) of unflavored gelatin ensures the mousse sets firmly enough to support the glaze. This is the invisible science that keeps your Mango mousse cups from collapsing.
Fine Desiccated Coconut: 2 tbsp (15g) for dusting. The white flakes provide a beautiful color contrast against the deep orange glaze and add a subtle tropical aroma.
Fresh Mint Leaves: Small sprigs for garnish. The bright green color is the final pop needed to bridge the warm tones of the mango with a fresh, herbal finish.
Professional Tools for a Polished Presentation
To achieve the look of three elegant glass cups filled with layers, you will need high-quality glassware. Clear glass is essential so the golden base, pale mousse, and orange glaze are all visible from the side. A high-speed blender or food processor is required to get the mango puree as smooth as possible for that glossy top layer.
A silicone spatula is your best friend when folding the mango puree into the whipped cream. You want to maintain the air bubbles, so a gentle hand is necessary. Lastly, a piping bag can help you get the mousse into the cups without smearing the sides, maintaining those clean, professional lines.
Step-by-Step Architecture: Building the Perfect Mousse Cup
Crafting the Golden Graham Cracker Foundation
Start by crushing your graham crackers into a fine, uniform sand texture. Combine the crumbs with the melted butter in a small bowl, stirring until the mixture resembles wet sand. Press approximately 2 tablespoons of the mixture into the bottom of each glass cup.
Use the back of a small spoon or a cocktail muddler to pack the crumbs down firmly. This creates a solid foundation that won’t crumble when you dig in. Place the cups in the refrigerator to chill while you prepare the next layer.
Developing the Pale Yellow Aerated Mousse
Peel and dice the mangoes, blending them into a completely smooth puree. Bloom the gelatin in 2 tablespoons (30ml) of cold water for 5 minutes, then gently heat it until liquid. Whisk half of the mango puree with the liquid gelatin until fully incorporated.
In a separate chilled bowl, whip the heavy cream and powdered sugar until stiff peaks form. Gently fold the mango-gelatin mixture into the whipped cream using a spatula. You should see a pale yellow color develop with tiny air bubbles trapped within the structure. Pipe this mousse over the cracker base, leaving space at the top for the glaze.
Perfecting the Vibrant Glossy Mango Glaze
Take the remaining mango puree and strain it through a fine-mesh sieve to remove any remaining fibers. This ensures the top layer is perfectly glossy and smooth. If the puree is too thick, add a teaspoon of water or lemon juice to reach a pourable consistency.
Carefully spoon the glaze over the set mousse, tilting the glass to ensure it covers the entire surface. The deep orange of the glaze should provide a sharp, beautiful contrast to the pale mousse beneath. Return the Mango mousse cups to the fridge for at least 4 hours to set completely.
Final Garnishes and Visual Cues
Just before serving, dice a fresh mango into neat, uniform cubes. Place three cubes in the center of each cup. Add a single, bright green mint sprig next to the mango chunks for a professional touch.
Finish with a delicate dusting of fine desiccated coconut. The white flakes should look like a light dusting of snow against the vibrant orange. The final result should look exactly like a handheld smartphone photo, capturing the natural highlights of the glass and the rich textures within.
Expert Tips for Bakery-Quality Mango Mousse
- Temperature Control: Ensure your heavy cream is ice-cold before whipping. This is crucial for trapping the air bubbles that give the mousse its characteristic lightness.
- Sieve for Success: Always strain your mango puree for the top glaze. Even the best blenders can leave small fibers behind, and a truly glossy finish requires a perfectly smooth liquid.
- Folding Technique: When combining the puree and cream, use a “figure-eight” motion with your spatula. This prevents deflating the cream, keeping the mango dessert recipe light and airy.
- The Setting Secret: Don’t rush the chilling process. The gelatin needs time to hydrate and bond the proteins in the cream, which provides that clean “gold spoon dip” experience.
Storage and Make-Ahead Advice
These Mango mousse cups are an excellent make-ahead dessert. You can prepare them up to 24 hours in advance, which often allows the flavors to meld and intensify. Keep them tightly covered with plastic wrap in the refrigerator to prevent the mousse from absorbing any fridge odors.
While the mousse and base hold up well, I recommend adding the fresh mango cubes, mint, and coconut dusting just before serving. This prevents the mint from wilting and the mango cubes from losing their structural integrity. Do not freeze these cups, as the gelatin and cream texture will break down upon thawing, losing that signature aeration.
Creative Pairings and Menu Inspiration
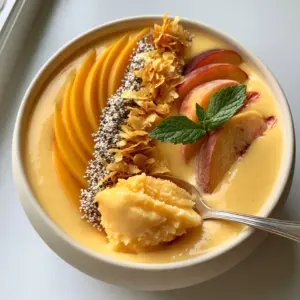
This tropical dessert pairs beautifully with other light, fruit-forward dishes. If you are hosting a multi-course brunch, consider serving these after traditional breakfast items or a fresh peach and mango smoothie bowl.
For a themed dinner, the sweetness of the mango provides a refreshing palate cleanser after savory dishes like a kafta burger or a rich hashweh recipe. The clean, bright flavors of the mousse cut through the spices of Middle Eastern and South Asian cuisines perfectly.
Frequently Asked Questions
Yes, but the mousse will be softer and more like a pudding. For a stable, aerated structure that supports the glaze, gelatin or a vegetarian alternative like agar-agar is highly recommended.
Yes, you can use frozen mangoes. Thaw them completely and drain any excess liquid before blending to ensure the puree remains thick and concentrated.
For the best texture and clean layers, let the cups chill for at least 4 hours. Setting them overnight is even better for flavor development.
Alphonso or Honey (Ataulfo) mangoes are best because they are sweet, vibrant in color, and have a very smooth, non-fibrous texture ideal for mousse and glazes.
This usually happens if the heavy cream was not cold enough when whipped, or if the mango puree was folded in too aggressively, deflating the air bubbles.
The Ultimate Mango Mousse Cups Recipe
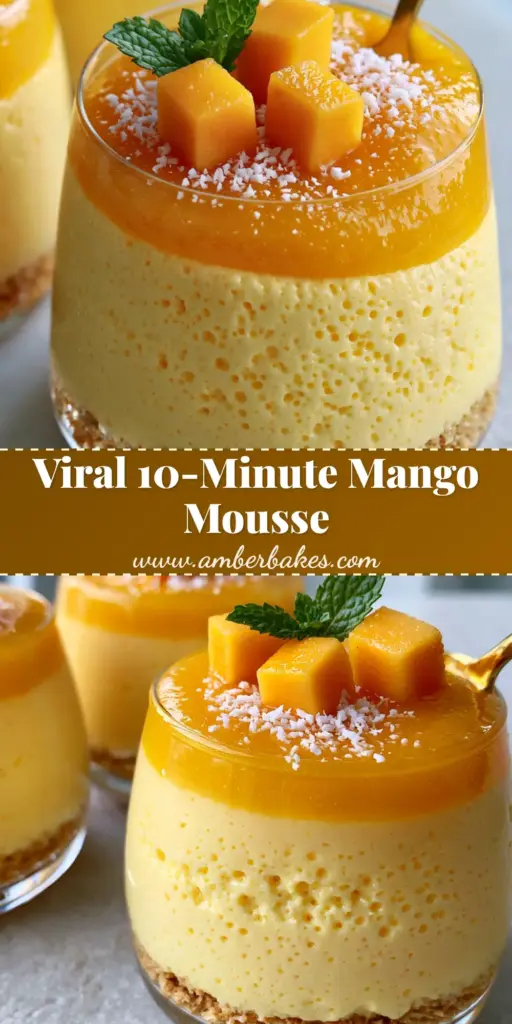
Mango mousse cups: An Elegant No-Bake Tropical Dessert Recipe
Ingredients
Equipment
Method
- Combine crushed graham crackers and melted butter until it resembles wet sand.
- Press the mixture into the bottom of 6 glasses and chill in the refrigerator.
- Blend mango flesh until smooth; bloom gelatin in water and stir into half the puree.
- Whip heavy cream and sugar until stiff peaks form; fold in the mango-gelatin mixture.
- Pipe the pale yellow mousse into the glasses over the cracker base and smooth the top.
- Strain remaining puree and pour a thin layer over the chilled mousse.
- Top with diced mango cubes, a mint sprig, and a dusting of coconut before serving.
Notes
Strain the mango puree through a fine sieve for a truly professional, glossy glaze.
Bring the Tropics to Your Table
Creating these Mango mousse cups is more than just following a recipe; it is about mastering the balance of texture and vibrant fruit flavor. From the buttery crunch of the base to the glossy sheen of the mango glaze, every element works in harmony to create a dessert that is as beautiful as it is delicious.
If you enjoyed this recipe, I would love to hear your thoughts in the comments below! Don’t forget to snap a photo of your creation and tag me. For more tropical inspiration, be sure to follow me on Pinterest and share this recipe with your fellow home cooks.