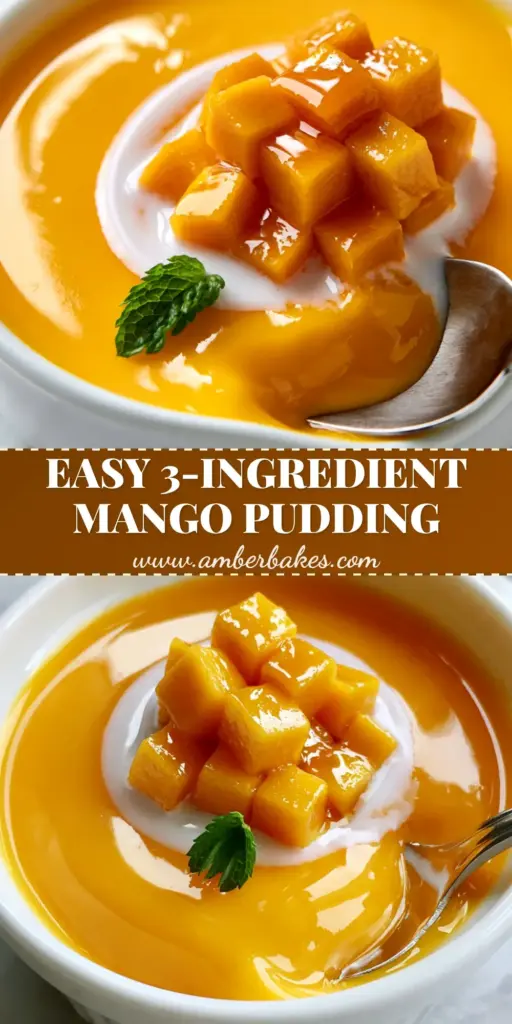
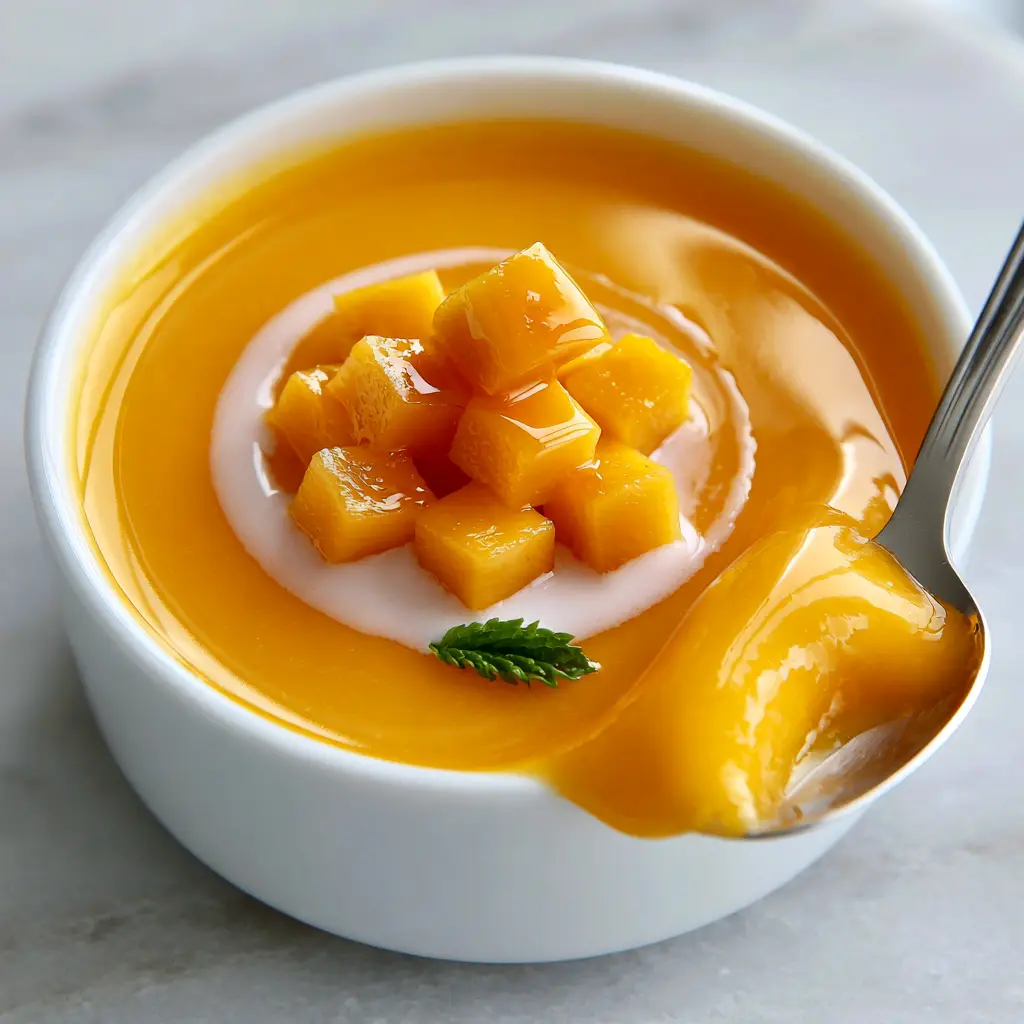
There is nothing quite like the sensory experience of a perfect mango pudding recipe. Imagine a dessert so vibrant it looks like a captured sunset, boasting a “dim sum wobble” that dances at the slightest touch of a silver spoon. This isn’t just a simple fruit bowl; it is a masterclass in texture, balancing a velvety, non-rubbery interior with a glossy, reflective surface that beckons for the first bite.
When you prepare this mango pudding recipe, you are aiming for a specific culinary harmony. The deep, sun-kissed orange of ripe Alphonso mangoes provides the base, while a thin, delicate drizzle of chilled coconut milk adds a touch of creamy luxury. It is the kind of dessert that looks as professional as a high-end patisserie offering, yet remains achievable for the dedicated home cook.
Whether you are ending a spicy meal or looking for a refreshing afternoon treat, this recipe delivers a soft-set consistency that melts on the tongue. By following these professional techniques, you will achieve that flawless, mirror-like finish and the iconic creamy mouthfeel that defines the world’s best mango desserts.
Why This Silky Mango Masterpiece Works
- The Iconic Dim Sum Wobble: We use a precise ratio of thickening agents to ensure the pudding is soft-set and creamy, avoiding the rubbery texture of over-gelled desserts.
- Sun-Kissed Flavor Profile: By utilizing a velvety mango puree base derived from Alphonso mangoes, the natural sweetness and floral notes are intensified.
- Multi-Textural Garnish: The contrast between the smooth pudding, the juicy bite of fresh mango cubes, and the glossy nectar glaze creates a sophisticated palate experience.
- Visual Brilliance: The interplay between the vibrant orange base, the stark white coconut milk drizzle, and the tiny pop of green from a fresh mint sprig makes this a photogenic showstopper.
The Anatomy of an Authentic Mango Pudding Recipe
To achieve the result seen in high-end culinary photography, we must select ingredients that offer both structural integrity and explosive flavor. Not all mangoes are created equal, and the science of the “set” is paramount here.
Ripe Alphonso or Honey Mangoes: You will need 2 cups (480g) of fresh mango puree. These varieties are chosen for their lack of fibrous threads and their deep, sun-kissed orange hue which is essential for that vibrant visual prompt.
Unflavored Gelatin Powder: 1 tablespoon (10g) is the secret to the wobble. It provides just enough structure to hold the shape in a white ceramic ramekin while remaining delicate enough to yield to a spoon.
Heavy Cream or Whole Milk: 1/2 cup (120ml) adds the “velvety” component. This fat content is what transforms a simple fruit jelly into a luxurious, creamy pudding.
Granulated Sugar: 1/3 cup (65g) enhances the natural sweetness. The amount can be adjusted slightly based on the Brix level (sugar content) of your specific fruit.
Mango Nectar: 1/4 cup (60ml) for the glaze. This creates the “glossy and reflective” top surface that protects the pudding and adds an extra layer of concentrated fruit flavor.
Full-Fat Coconut Milk: 2 tablespoons (30ml) for the final drizzle. Ensure this is chilled so it maintains its white opacity against the orange pudding without immediately bleeding in.
Fresh Mint Sprigs: Used sparingly as a garnish to provide a color contrast and a refreshing aromatic finish.
Essential Tools for a Flawless Finish
Achieving a professional-grade mango pudding recipe requires more than just mixing; it requires the right tools to ensure a smooth, air-bubble-free texture. A high-speed blender is your first line of defense, ensuring the mango puree is completely broken down into a liquid velvet.
A fine-mesh sieve is equally critical. Even the best blender can leave behind tiny particles or air bubbles. Straining the mixture before it sets is the difference between a “home-style” pudding and the “flawless, glossy” surface described in our visual blueprint.
Finally, utilize individual white ceramic ramekins. These provide a clean, neutral background that makes the sun-kissed orange of the pudding pop. The ceramic also helps maintain a consistent temperature while the pudding sets in the refrigerator.
Step-by-Step Guide to the Perfect Mango Set
Preparing the Vibrant Mango Base
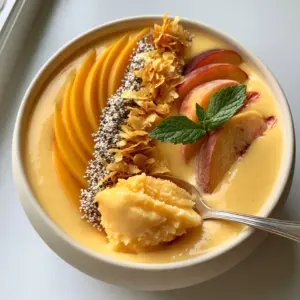
Begin by peeling and cubing your ripe mangoes. Place the fruit into a blender and process until it reaches a completely smooth, velvety consistency. Measure out exactly 2 cups (480g) of this puree; if you have extra, save it for a refreshing smoothie bowl later.
Pass the puree through a fine-mesh sieve into a large bowl. This step removes any remaining fibers, ensuring the final interior is non-rubbery and perfectly uniform. Set this aside at room temperature while you prepare the setting agent.
Blooming the Gelatin for Maximum Wobble
In a small bowl, combine 1/4 cup (60ml) of cold water with the gelatin powder. Let it sit for 5-10 minutes to “bloom.” You will see the granules swell and the liquid thicken, which is essential for a smooth melt later. If you prefer a plant-based version, you might explore techniques used in a mango coconut chia pudding, though the texture will differ slightly.
Gently heat the bloomed gelatin in a small saucepan over low heat, or in short bursts in the microwave, until it is completely liquid and clear. Do not let it boil, as excessive heat can weaken the gelatin’s setting power and affect the “dim sum wobble.”
Emulsifying the Cream and Sweetener
In a separate saucepan, combine the heavy cream and sugar. Heat over medium-low, stirring constantly until the sugar has fully dissolved. You are looking for a gentle simmer—do not bring it to a rolling boil. Remove from heat and stir in the liquid gelatin, whisking until perfectly incorporated.
Slowly pour the cream and gelatin mixture into the mango puree. Whisk gently but thoroughly to ensure the color is a consistent, sun-kissed orange throughout. This emulsification is what creates the creamy, soft-set interior that distinguishes a top-tier mango pudding recipe.
The Chilling and Setting Process
Carefully pour the mixture into your white ceramic ramekins. If you notice any tiny air bubbles on the surface, lightly tap the ramekins on the counter or use a toothpick to pop them. This ensures the reflective top remains flawless.
Place the ramekins in the refrigerator for at least 4 hours, though overnight is preferred. The pudding must be thoroughly chilled to achieve the structural integrity required to support the toppings without sinking.
Crafting the Glossy Nectar Glaze and Garnish
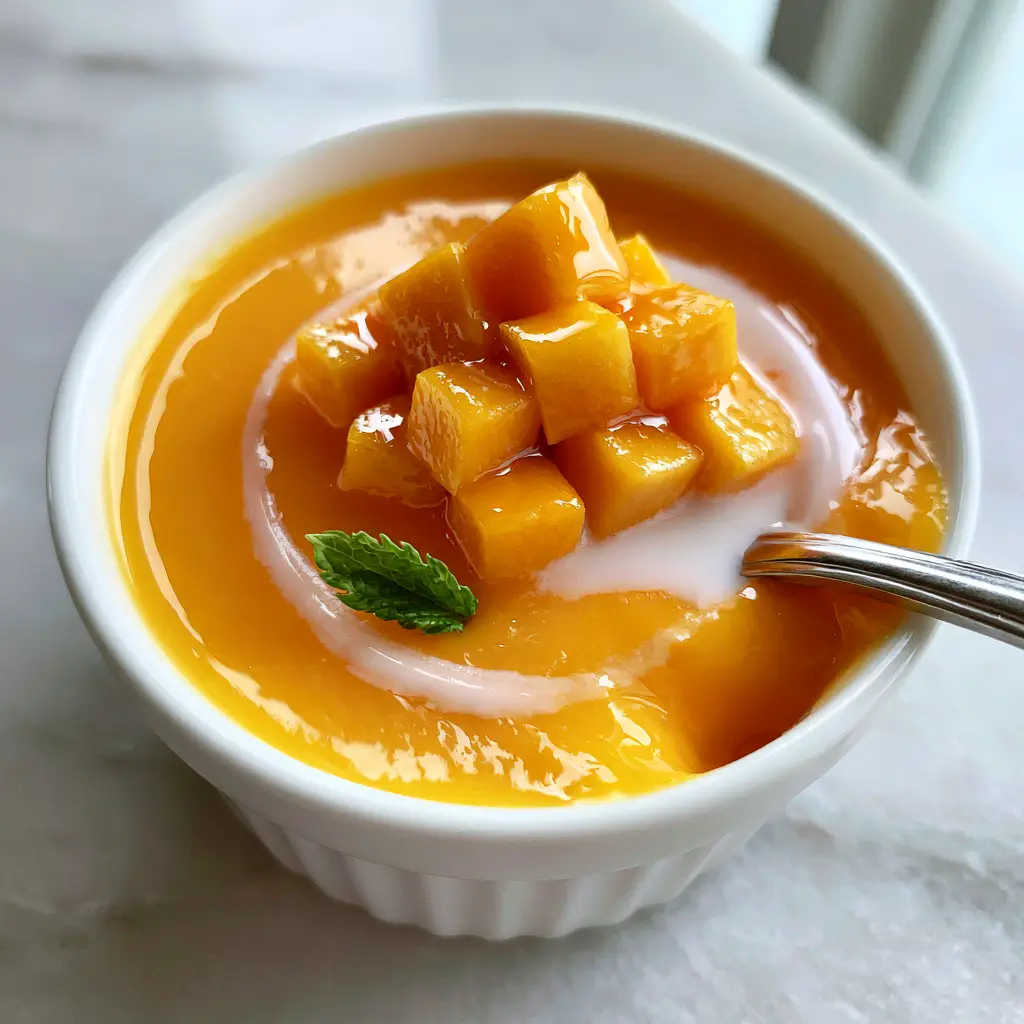
Once the pudding is set, it’s time to apply the final aesthetic touches. Take your mango nectar and whisk it with a teaspoon of honey or simple syrup if it needs more shine. Gently spoon a thin layer over the top of each pudding. This creates the “glossy and reflective” top surface that looks so inviting in the macro photography.
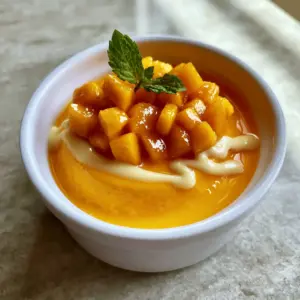
Top each ramekin with a neat pile of perfectly squared fresh mango cubes. The precision of these cubes adds to the professional “handheld smartphone photo” aesthetic, suggesting a dish that is both rustic and expertly prepared. For more inspiration on fruit presentation, check out our elegant mango tart recipe.
The final touch is the drizzle. Use a small spoon to create a very thin, delicate swirl of chilled coconut milk around the mango cubes. The stark white against the orange creates a stunning visual contrast. Place one tiny, vibrant green mint tip off-center to complete the look.
Expert Tips for Culinary Success
- Temperature Control: Ensure your mango puree is at room temperature when adding the warm gelatin mixture. If the puree is too cold, the gelatin may streak or set prematurely, ruining the velvety texture.
- Choosing the Mango: If Alphonso mangoes are out of season, look for Ataulfo (Honey) mangoes. Avoid large, green-skinned Tommy Atkins mangoes, as they are often too fibrous for a smooth pudding.
- The “Wobble” Test: When you think the pudding is set, give the ramekin a gentle shake. It should move like firm jelly but not liquid. This is the sign of a successful mango pudding recipe.
- Avoid Over-Stirring: Once the gelatin is added, stir only until combined. Over-whisking can introduce air bubbles that will mar the glossy surface.
Storage and Serving Suggestions
This mango pudding recipe is best enjoyed within 24-48 hours of preparation. The fresh mango cubes may begin to release moisture after a day, so it is best to add the fresh fruit and coconut milk drizzle just before serving.
Keep the ramekins covered with plastic wrap in the refrigerator to prevent the pudding from absorbing any fridge odors. Do not freeze this dessert; the gelatin structure will break down upon thawing, resulting in a grainy and watery mess rather than the desired velvety finish.
If you enjoy this flavor profile, you might also love a light mango mousse or a decadent mini mango cheesecake. For those who prefer a more traditional Middle Eastern morning, these puddings make a surprisingly wonderful follow-up to traditional Arabic breakfast spreads.
What to Serve With Mango Pudding
This dessert is exceptionally light, making it the perfect palate cleanser after a rich or savory meal. Consider serving it after a hearty Greek moussaka or a flavorful Lebanese kafta burger. The cool, fruity notes of the mango provide a beautiful counterpoint to warm spices and grilled meats.
For a complete themed dinner, you could start with appetizers like cheese fatayer or manakeesh, followed by a main course of spiced hashweh rice. The mango pudding provides a refreshing, sun-kissed conclusion to such a vibrant meal.
Frequently Asked Questions
Yes, you can substitute the gelatin with agar-agar powder and use full-fat coconut milk in place of heavy cream. Note that agar-agar sets more firmly, so you will need to adjust the quantities to maintain the wobble.
Yes, you can use frozen mango, but ensure it is fully thawed and drained of excess water before pureeing. For the best visual results and ‘sun-kissed’ orange color, high-quality frozen Alphonso pulp is recommended over standard frozen chunks.
The glossy, reflective finish is achieved by spooning a thin layer of mango nectar glaze over the pudding after it has fully set. This adds shine and prevents the surface from drying out.
The secret lies in the precise ratio of gelatin to liquid. Using just enough gelatin to hold the shape while incorporating heavy cream ensures the pudding is soft-set and creamy rather than firm and rubbery.
A rubbery texture usually results from using too much gelatin or over-boiling the mixture. Always bloom your gelatin in cold water first and gently melt it to preserve its delicate setting properties.
The Ultimate Mango Pudding Recipe Card
Mango Pudding Recipe: The Ultimate Silky Dim Sum Style Dessert
Ingredients
Equipment
Method
- Blend fresh mango into a velvety puree and pass through a fine-mesh sieve to remove fibers.
- Sprinkle gelatin over cold water and let sit for 5-10 minutes until bloomed.
- Heat cream and sugar until dissolved, then stir in bloomed gelatin until clear and liquid.
- Whisk the cream mixture into the mango puree until the color is a sun-kissed orange; pour into ramekins.
- Refrigerate for at least 4 hours until the pudding shows a 'dim sum wobble'.
- Apply a thin layer of mango nectar glaze, top with diced mango cubes, a coconut milk swirl, and mint.
Notes
Do not boil the gelatin, as it will lose its setting strength.
A Sun-Kissed Sweet Ending
Mastering this mango pudding recipe allows you to bring a touch of dim sum elegance into your own kitchen. The combination of the “dim sum wobble,” the velvety mango puree, and the glossy nectar glaze creates a dessert that is as beautiful to look at as it is to eat. It is a celebration of the mango’s natural glory, refined through professional culinary technique.
We would love to see your creations! If you make this recipe, please leave a comment below and share your photos. Don’t forget to follow amber_bakes on Pinterest for more vibrant dessert inspiration and tag us in your “wobble” videos!